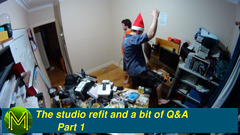
Studio refit, guided tour and a bit of Q&A Part 2. // News
Over the Christmas break I revamped my studio so I thought I’d show you what I did and what’s left to do. I know that some people would do things differently, but this is how I did it. There’s also a bit of a Q&A; from my subscribers.
Part 2: The new studio guided tour
Fixing the studio
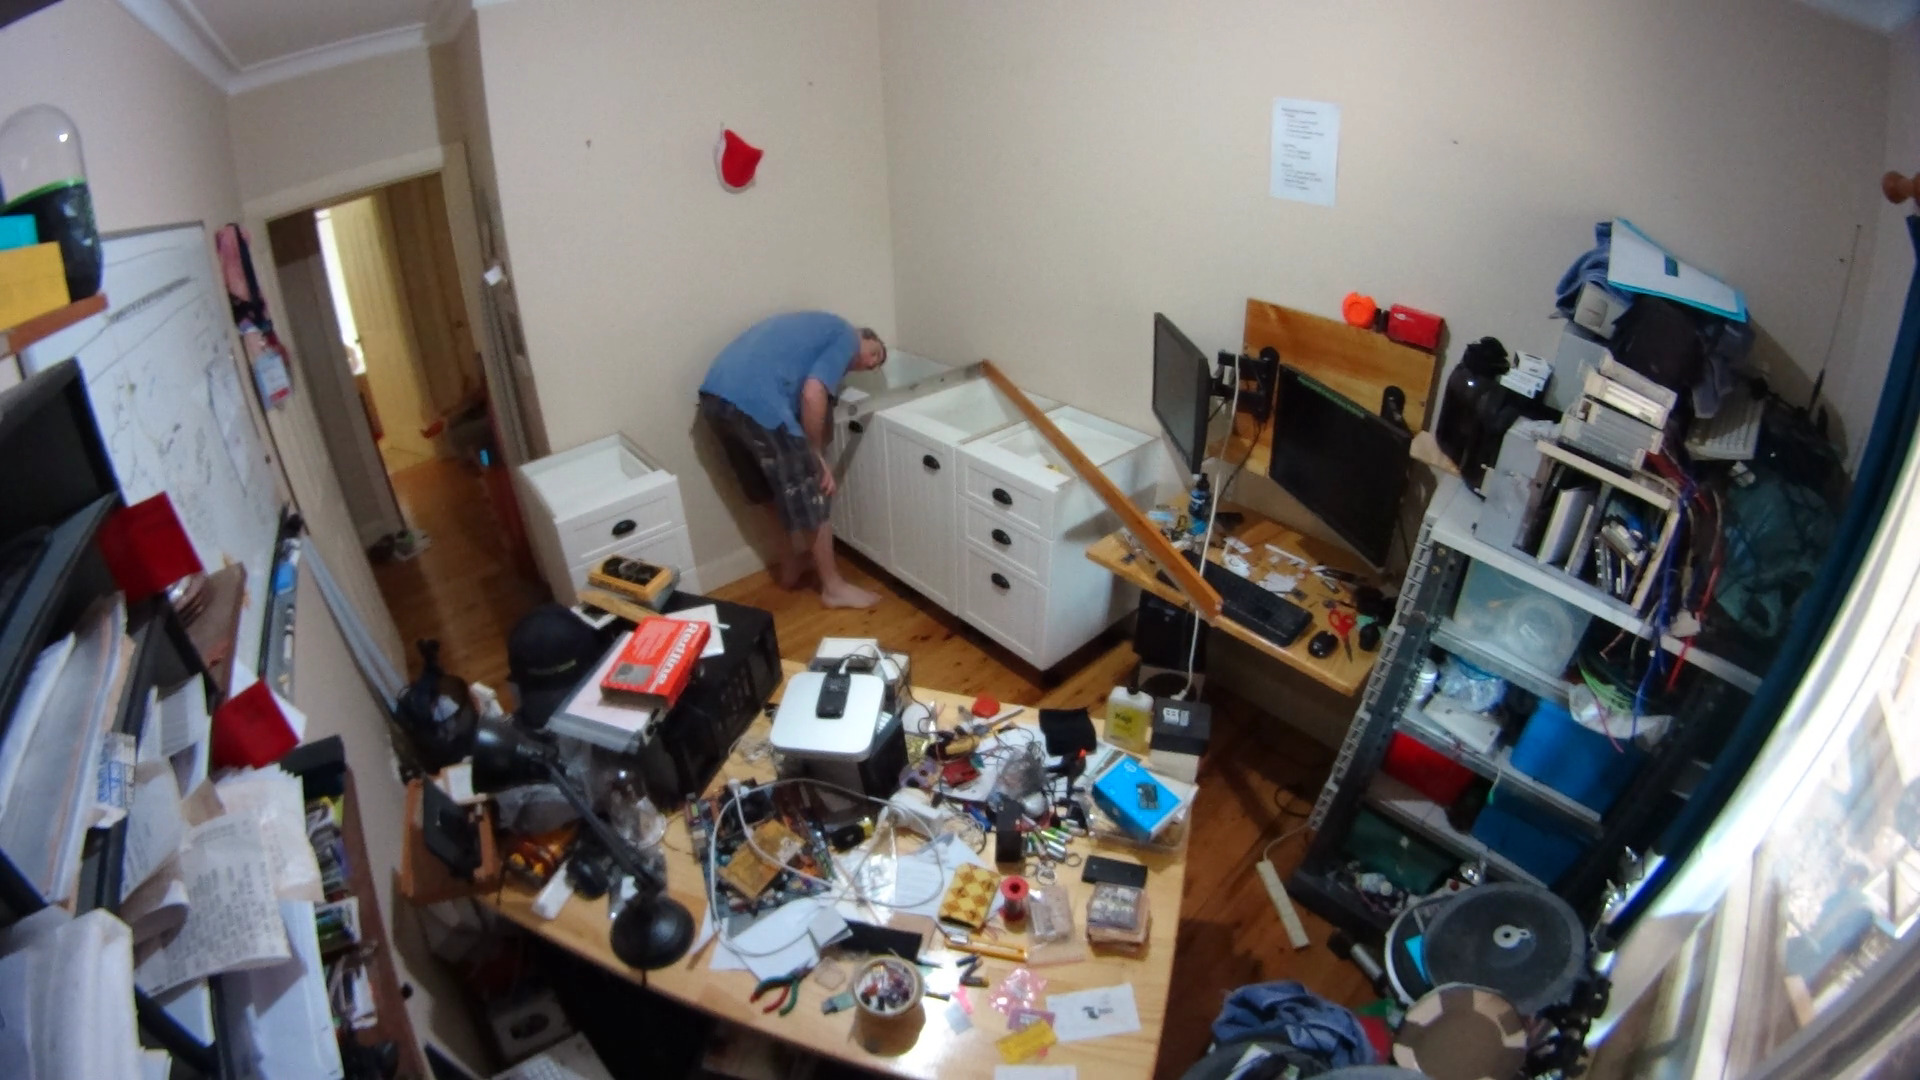
Bench-tops
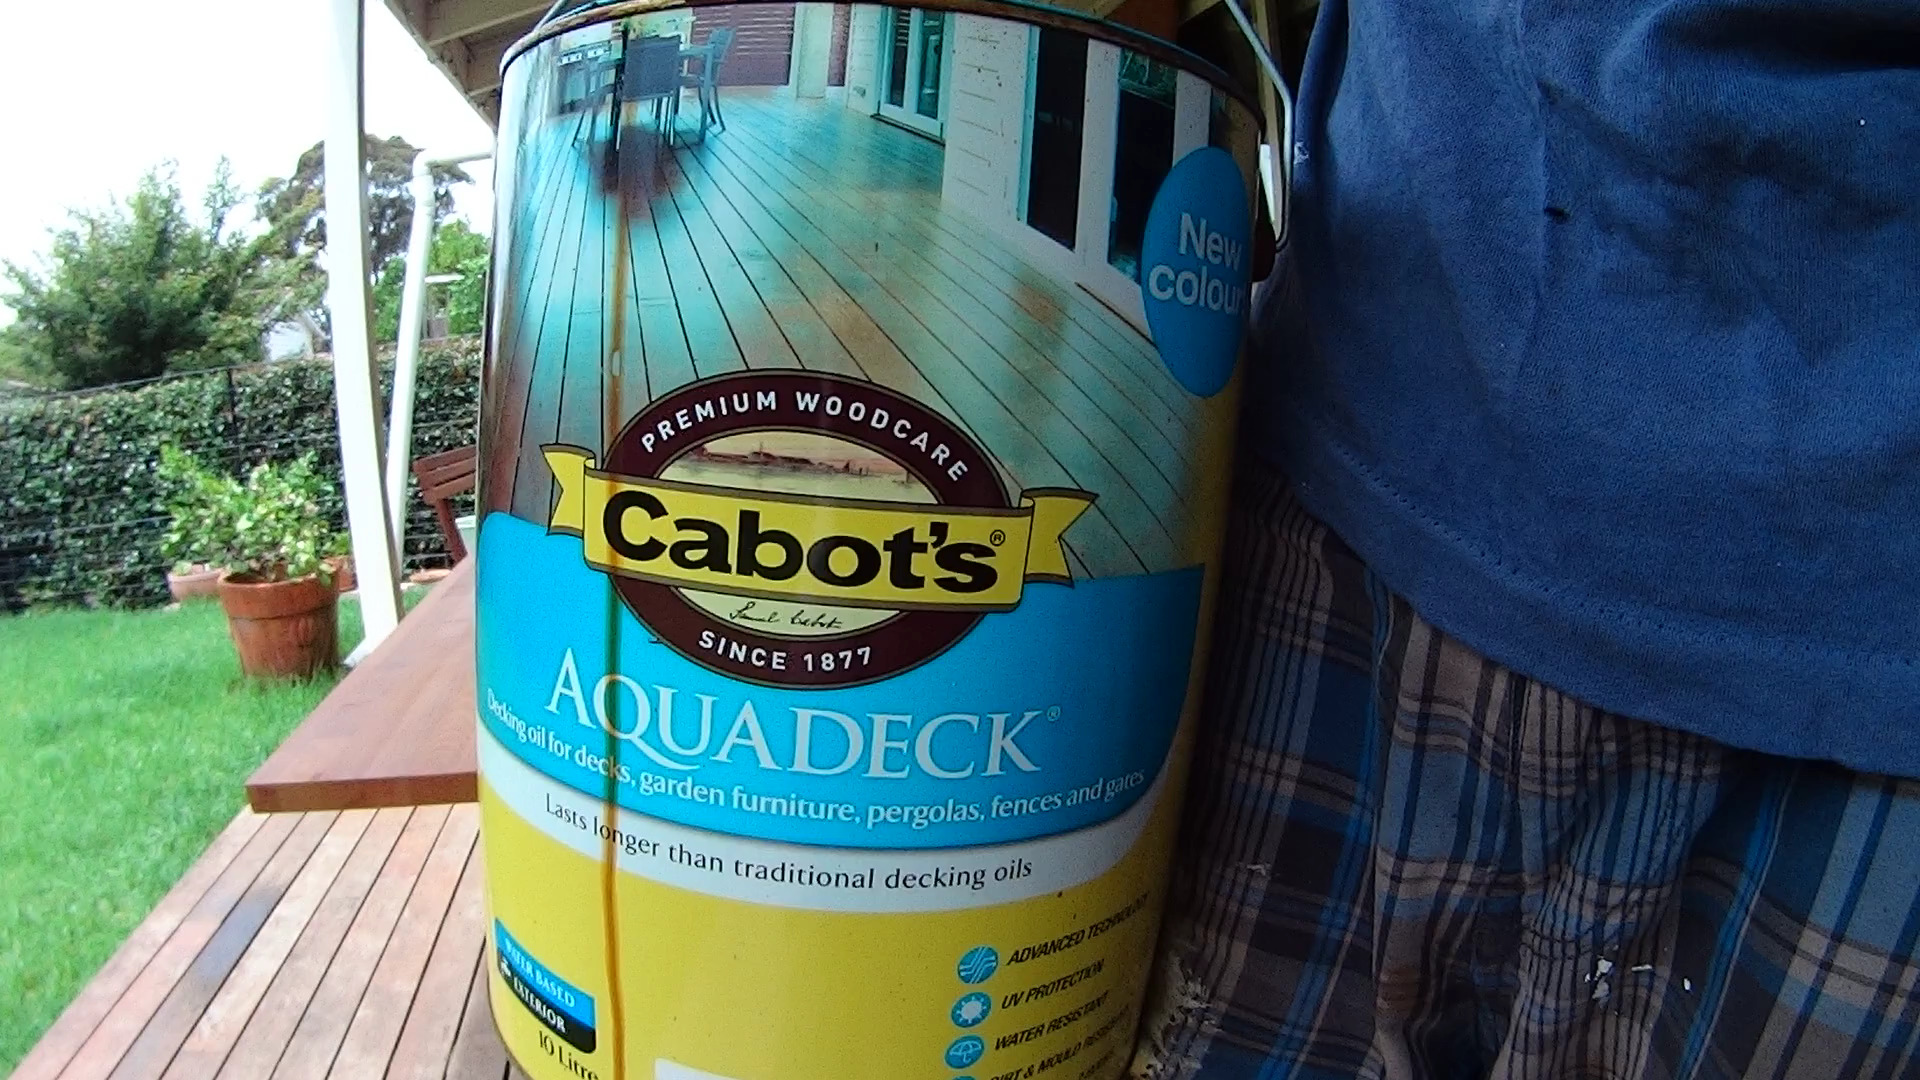
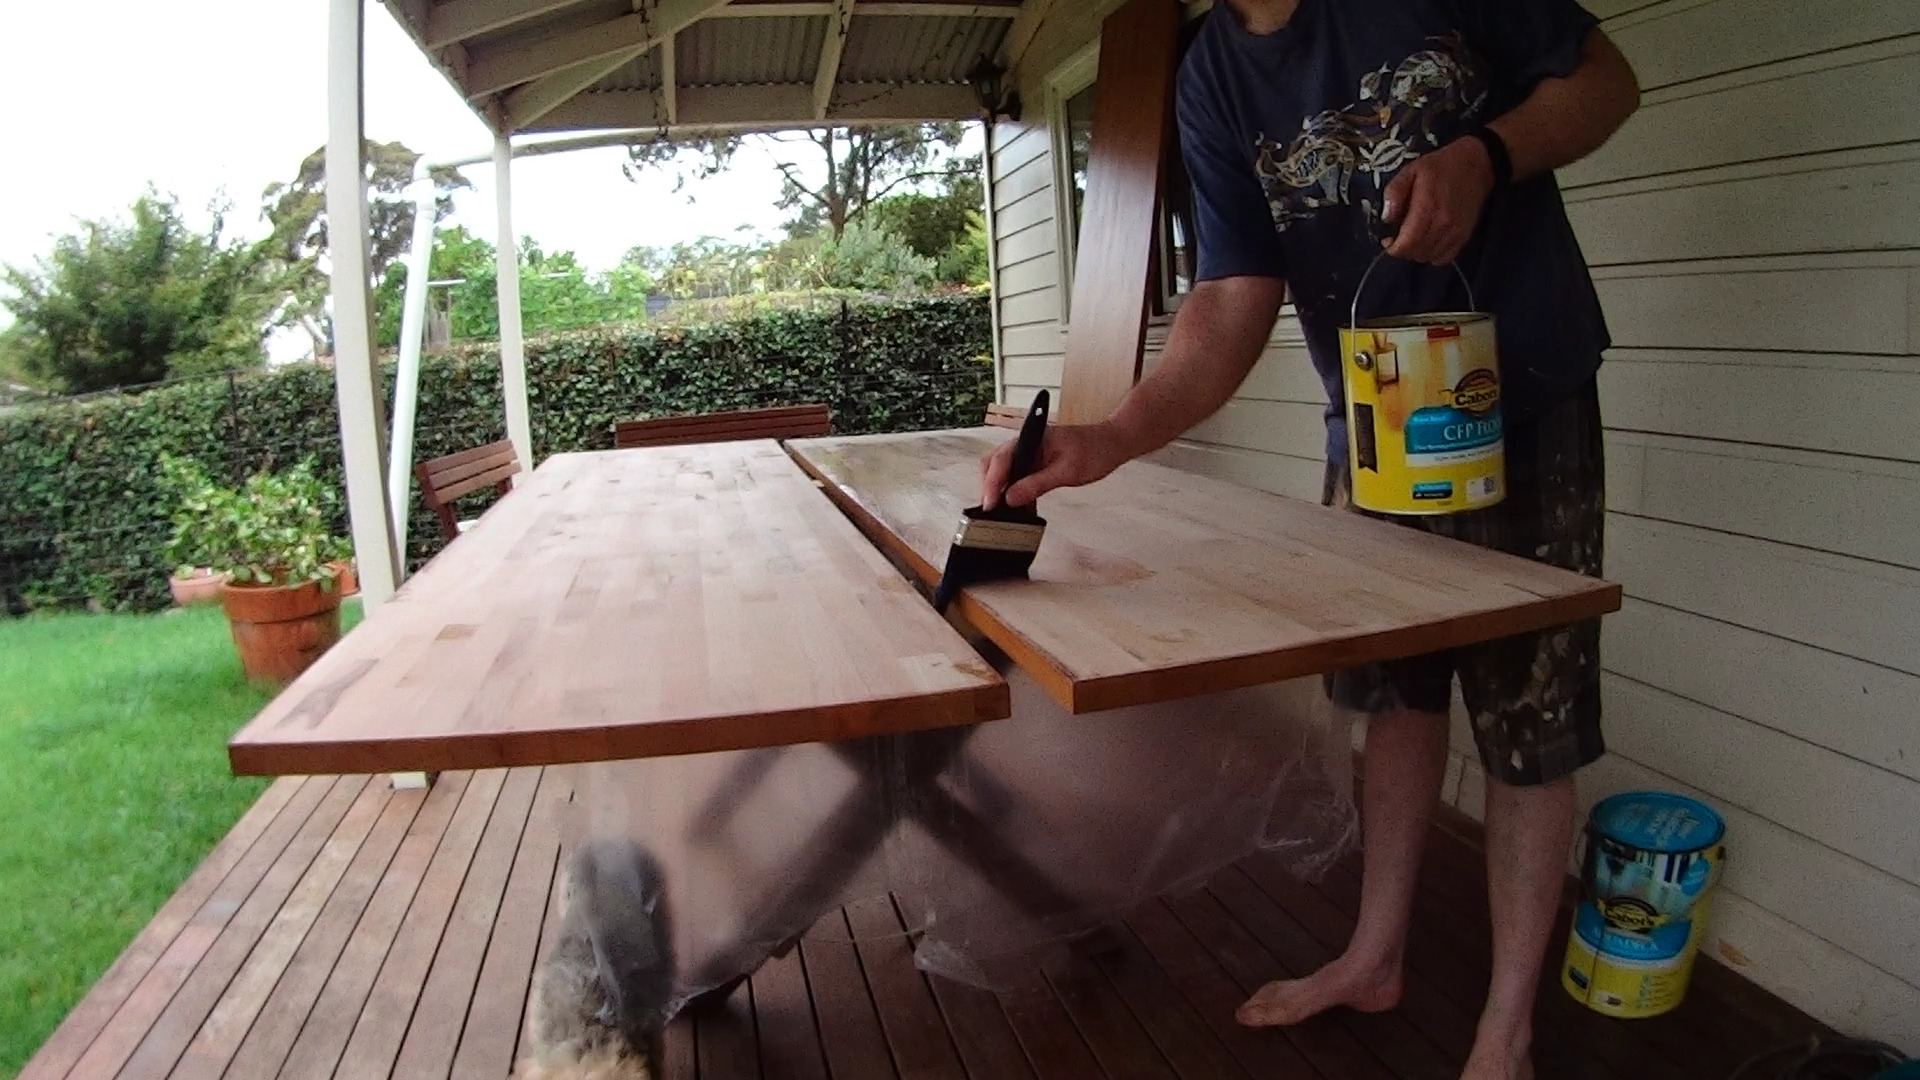
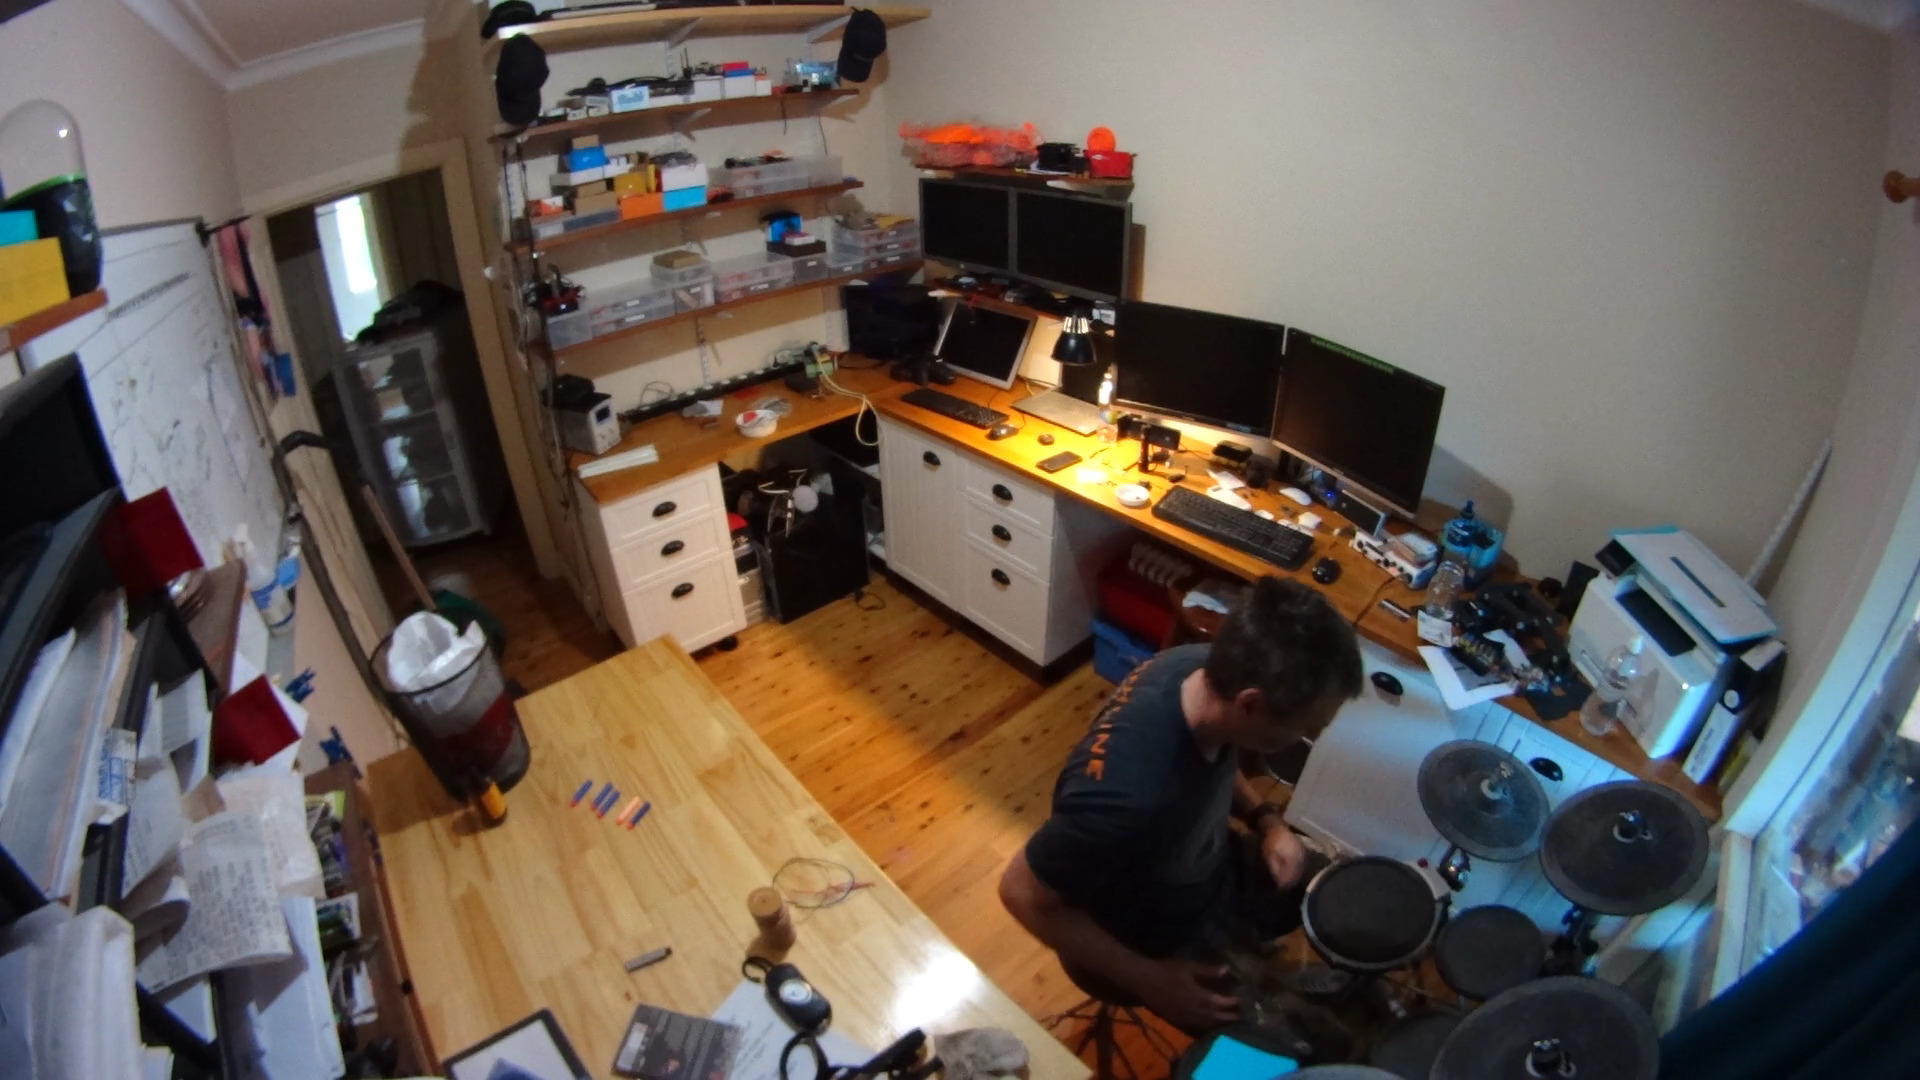
First of all I bought three large finger-jointed Oak kitchen bench-tops, sanded them down and put on a layer of flooring lacquer. Then repeated this another four times until I had a very hard wearing surface. It has to be tough because it has to put up with solder blobs, and bits of wire jabbing into it. I also lacquered the underside to avoid warping.


Storage space
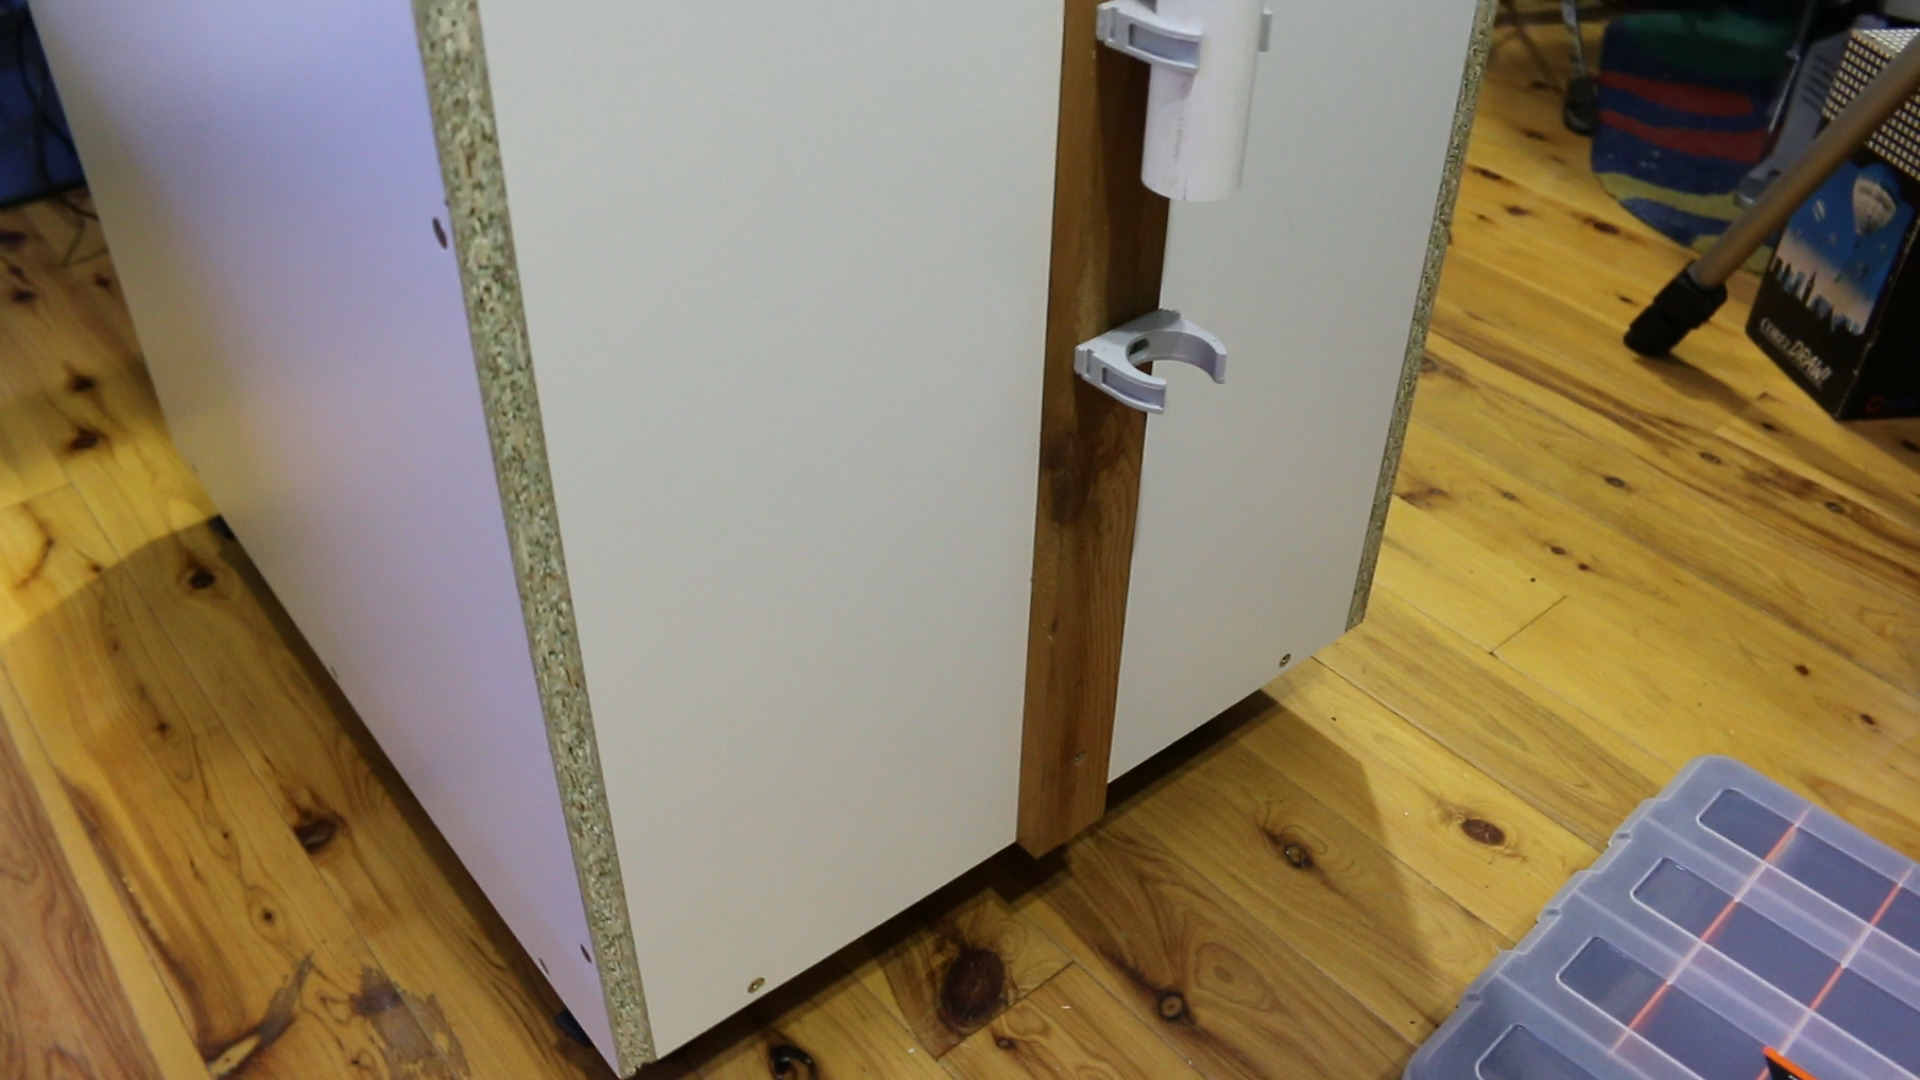
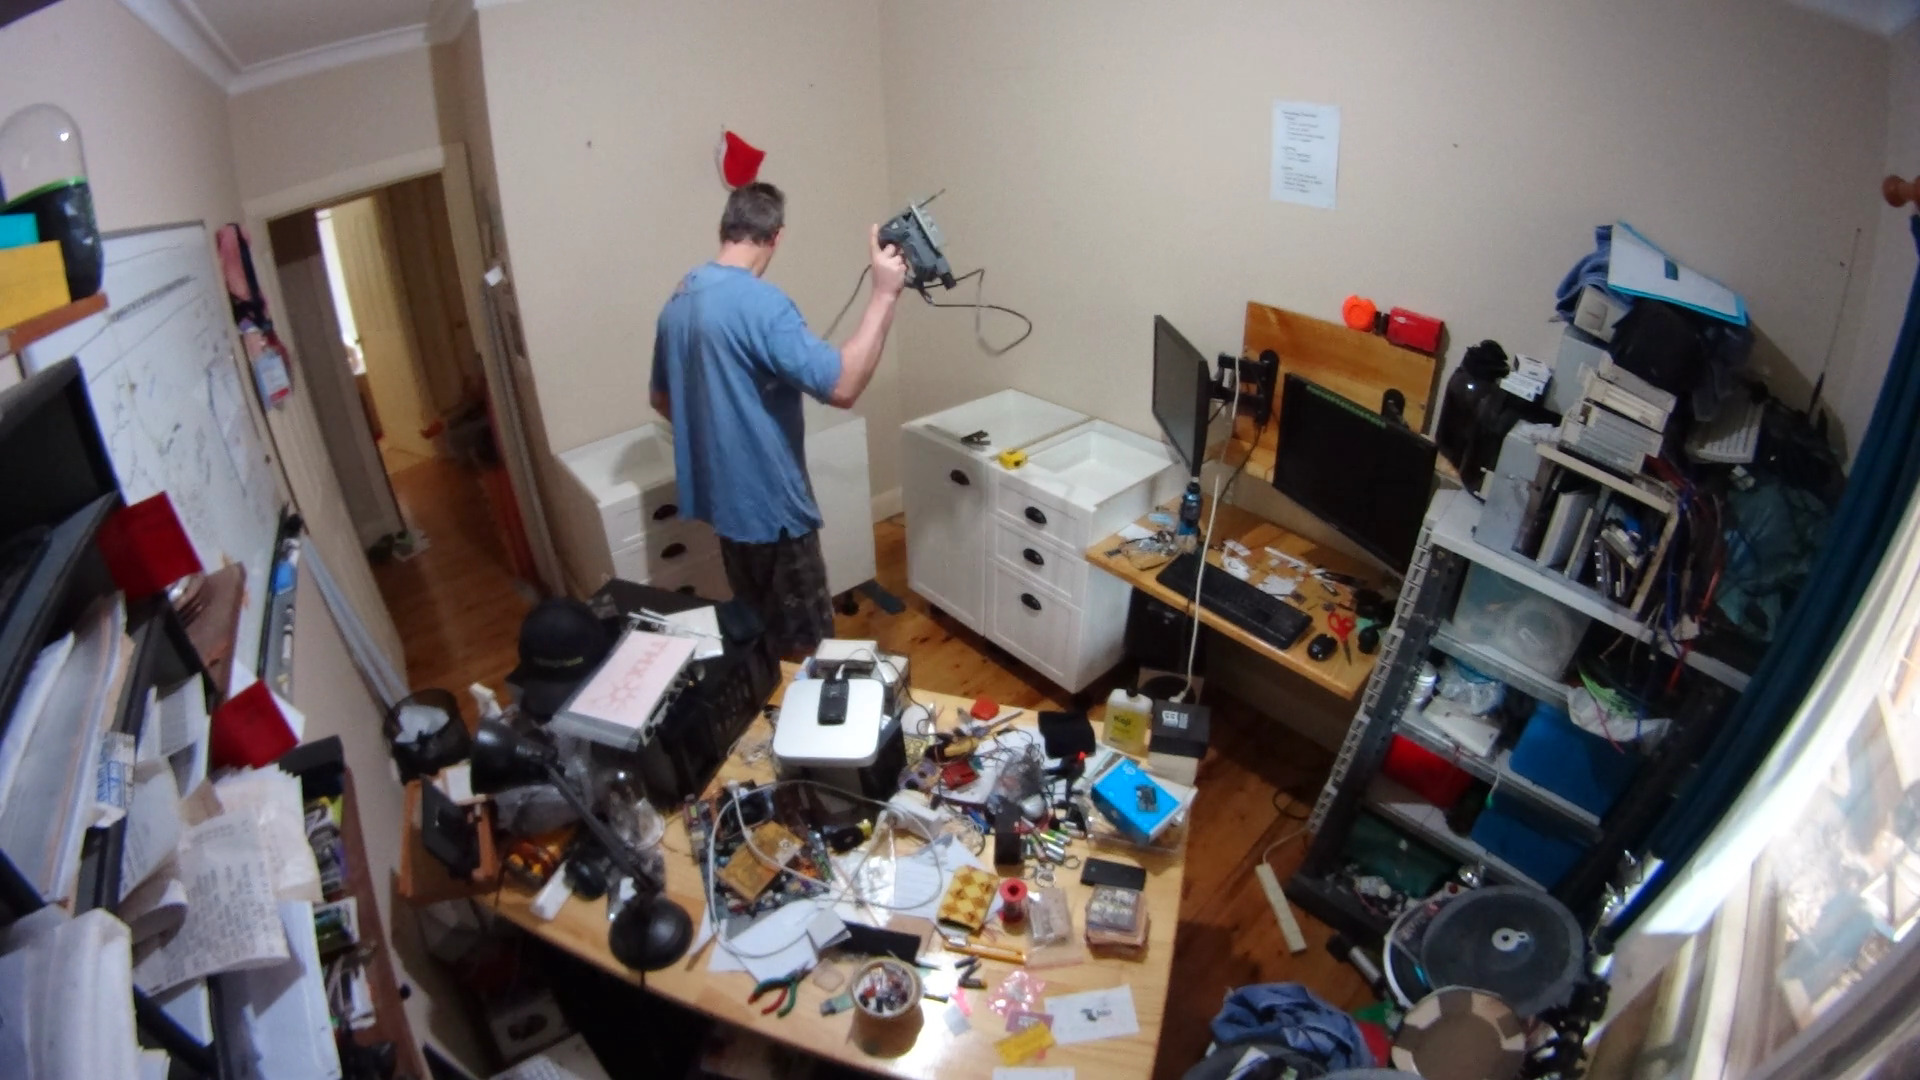
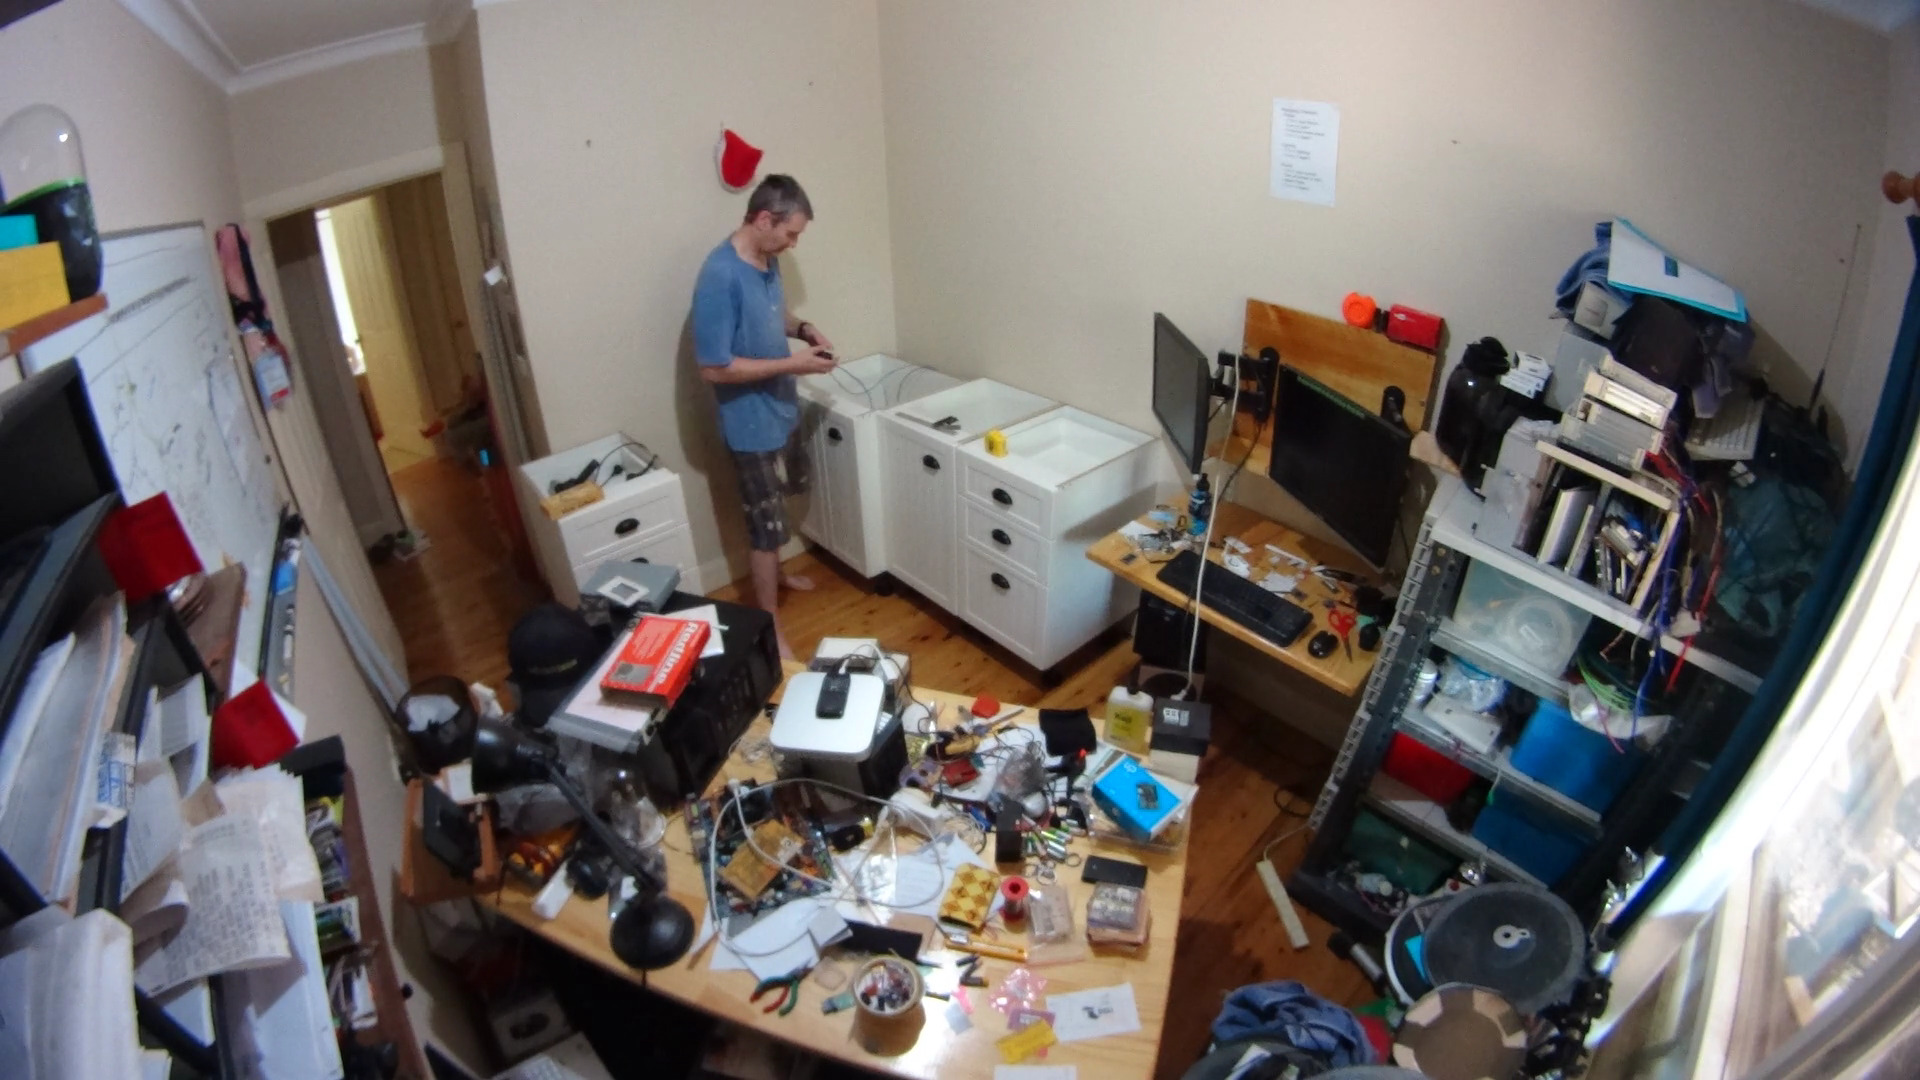
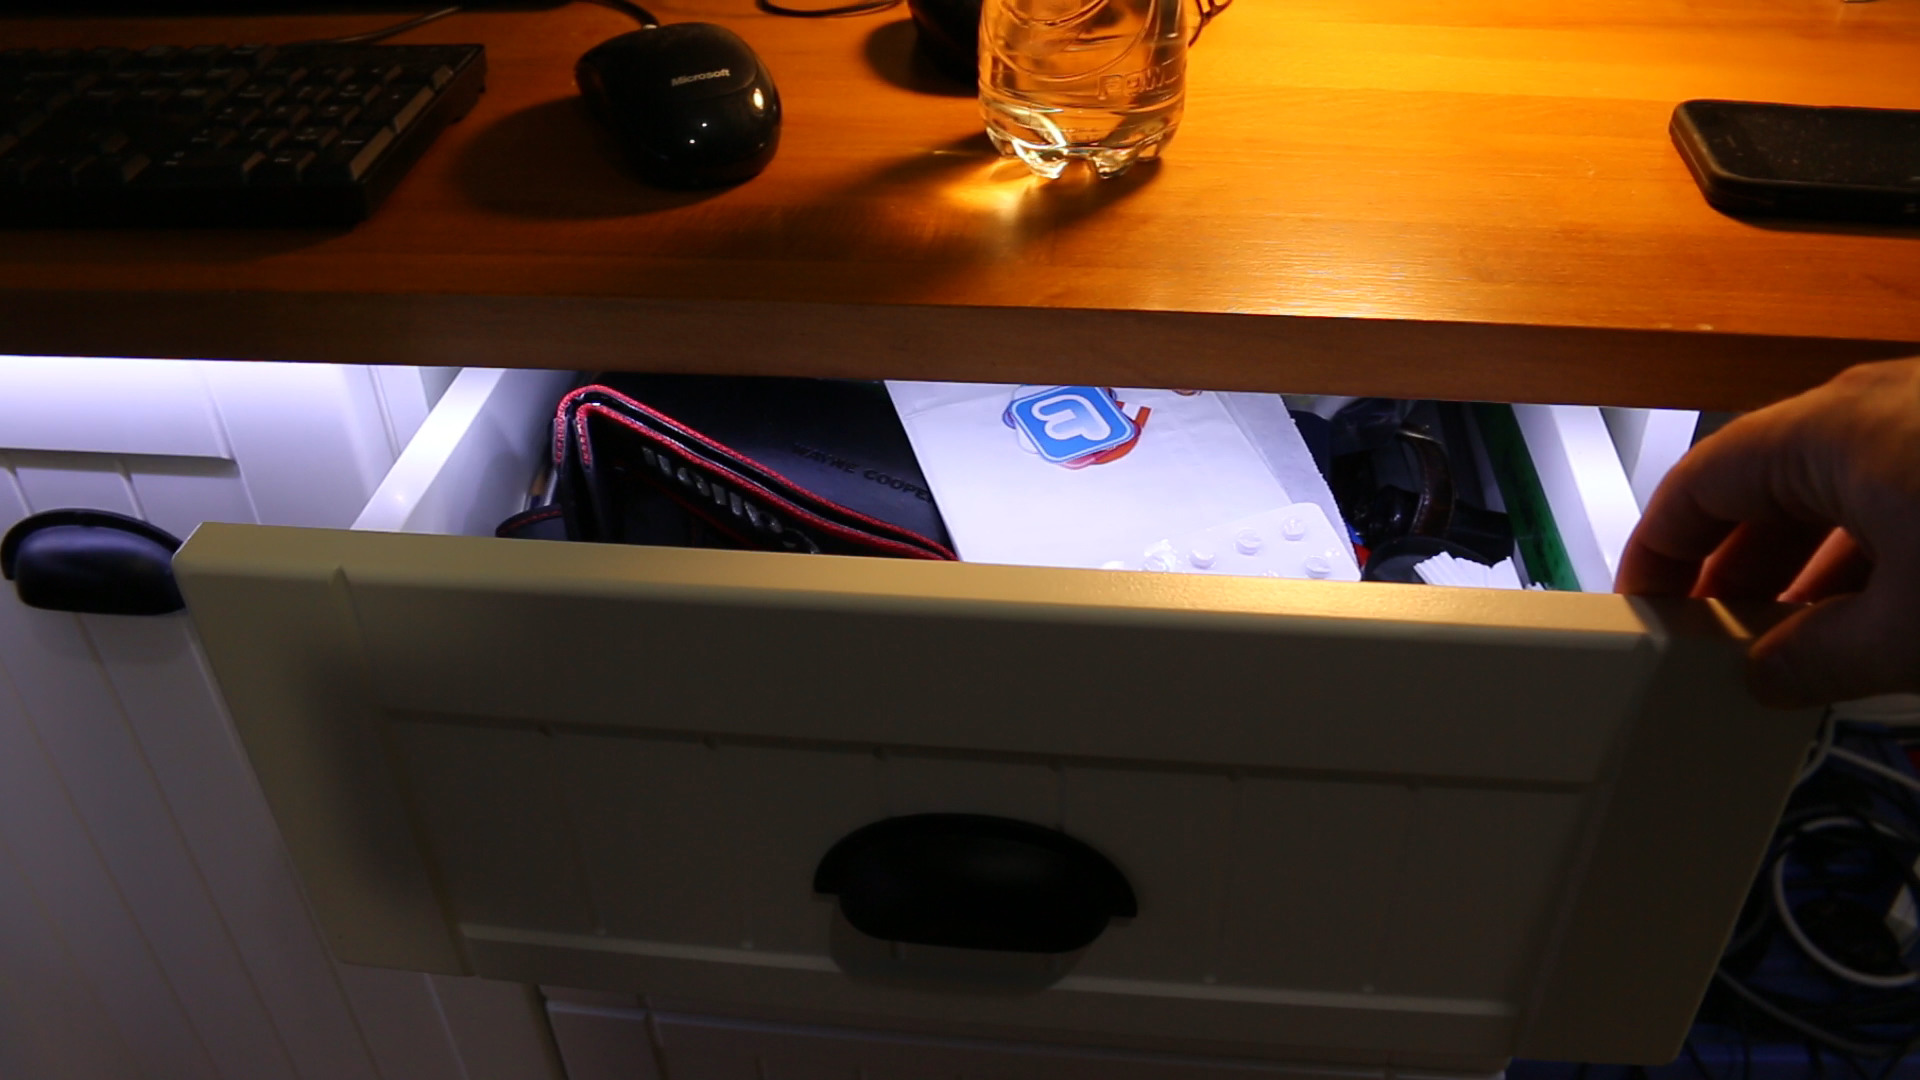
I bought a cheap flat-pack kitchen kit from my local hardware store. This is because often I’m standing while filming and sitting down is a pain in the neck, … or rear end. Whatever. If you’re in Australia I bought the Kaboodle brand from Bunnings. I needed lots of draws, because I have a lot of stuff that I need to store. Building 7 cabinets took around a day, with a little help.

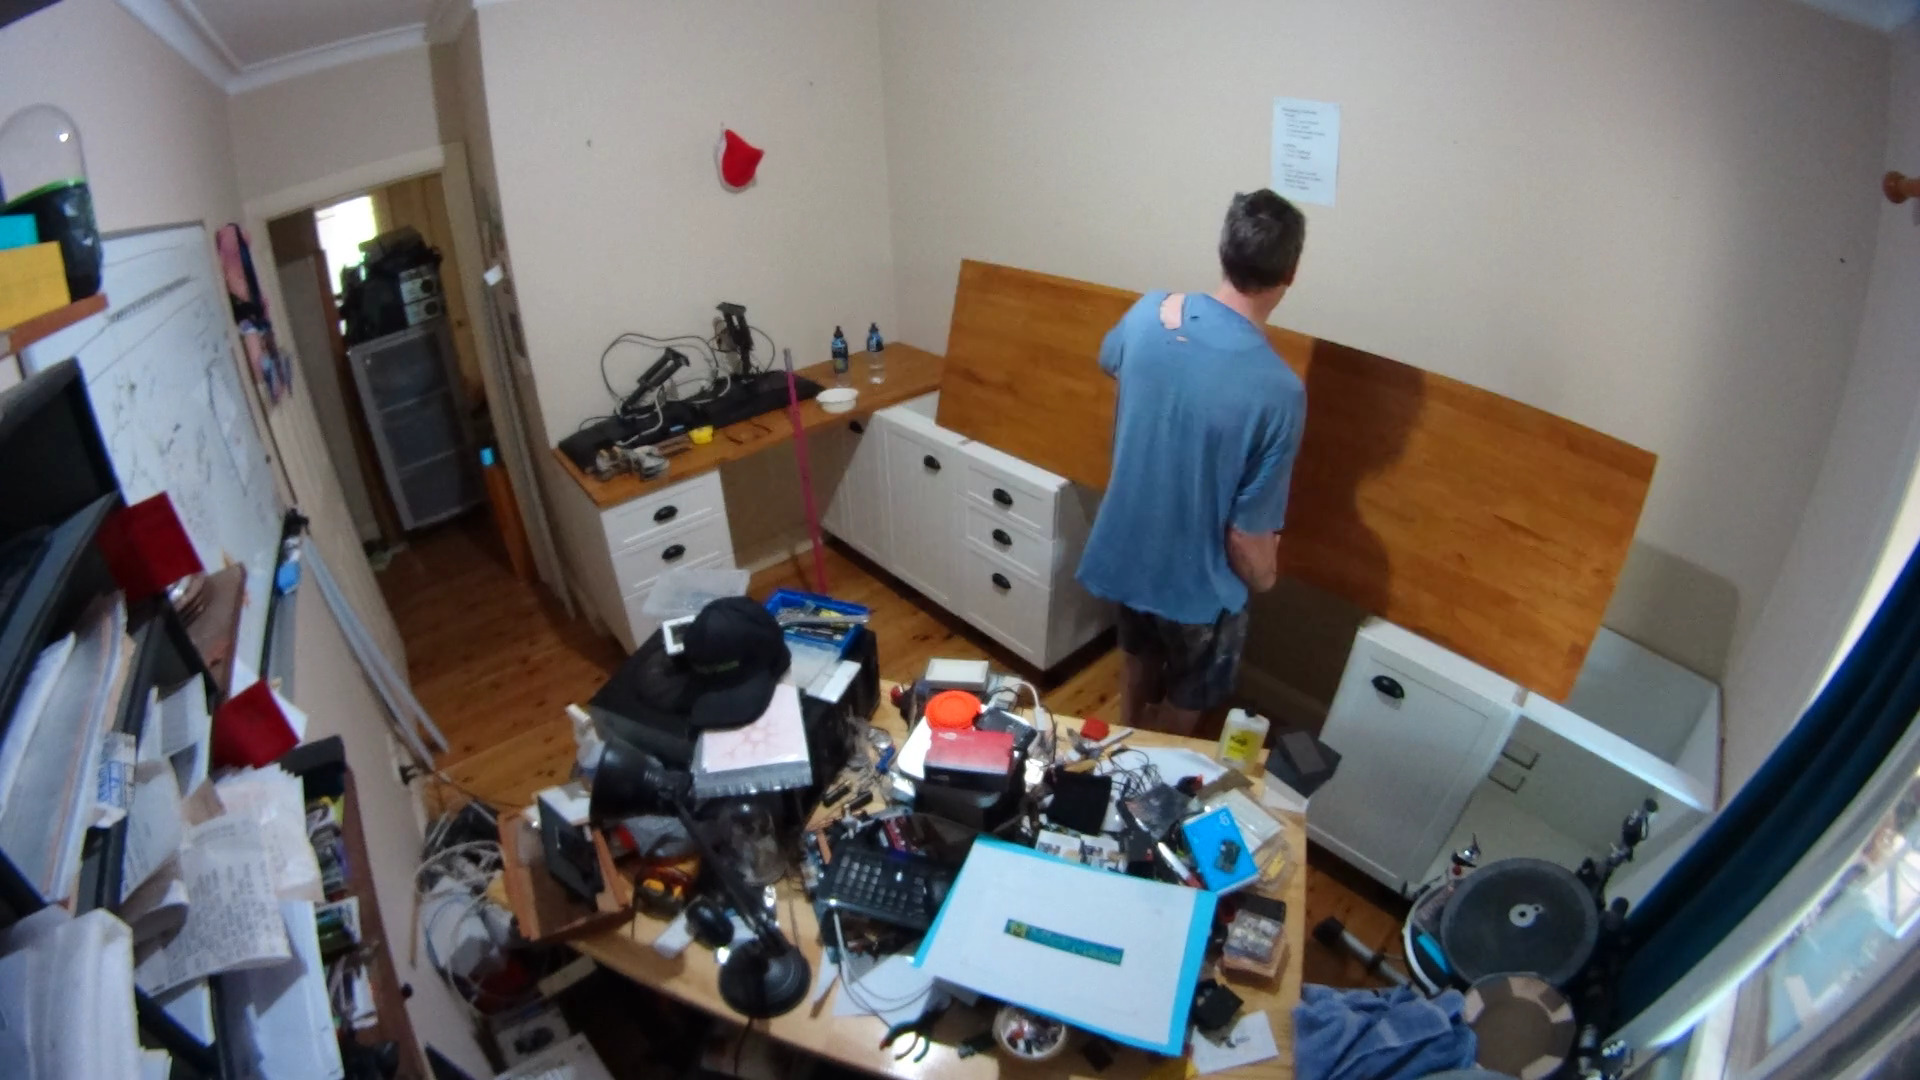
When I built my house I installed a double power point and double Ethernet in each corner of the room. So I had to cut a hole for access to each of them in the back of several cabinets. Easily done with a jigsaw.
If you’re ever installing kitchen benches make sure you spend a fair amount of time making sure everything is level. It’ll pay off in the long run. Make sure the front back, side to side and diagonals are level.


Then on to installing the bench-tops. I cut off the excess with my table saw and re-sealed the edges with flooring sealant. I bought the right lengths so that the off-cut of the first bench became the insert after the second.

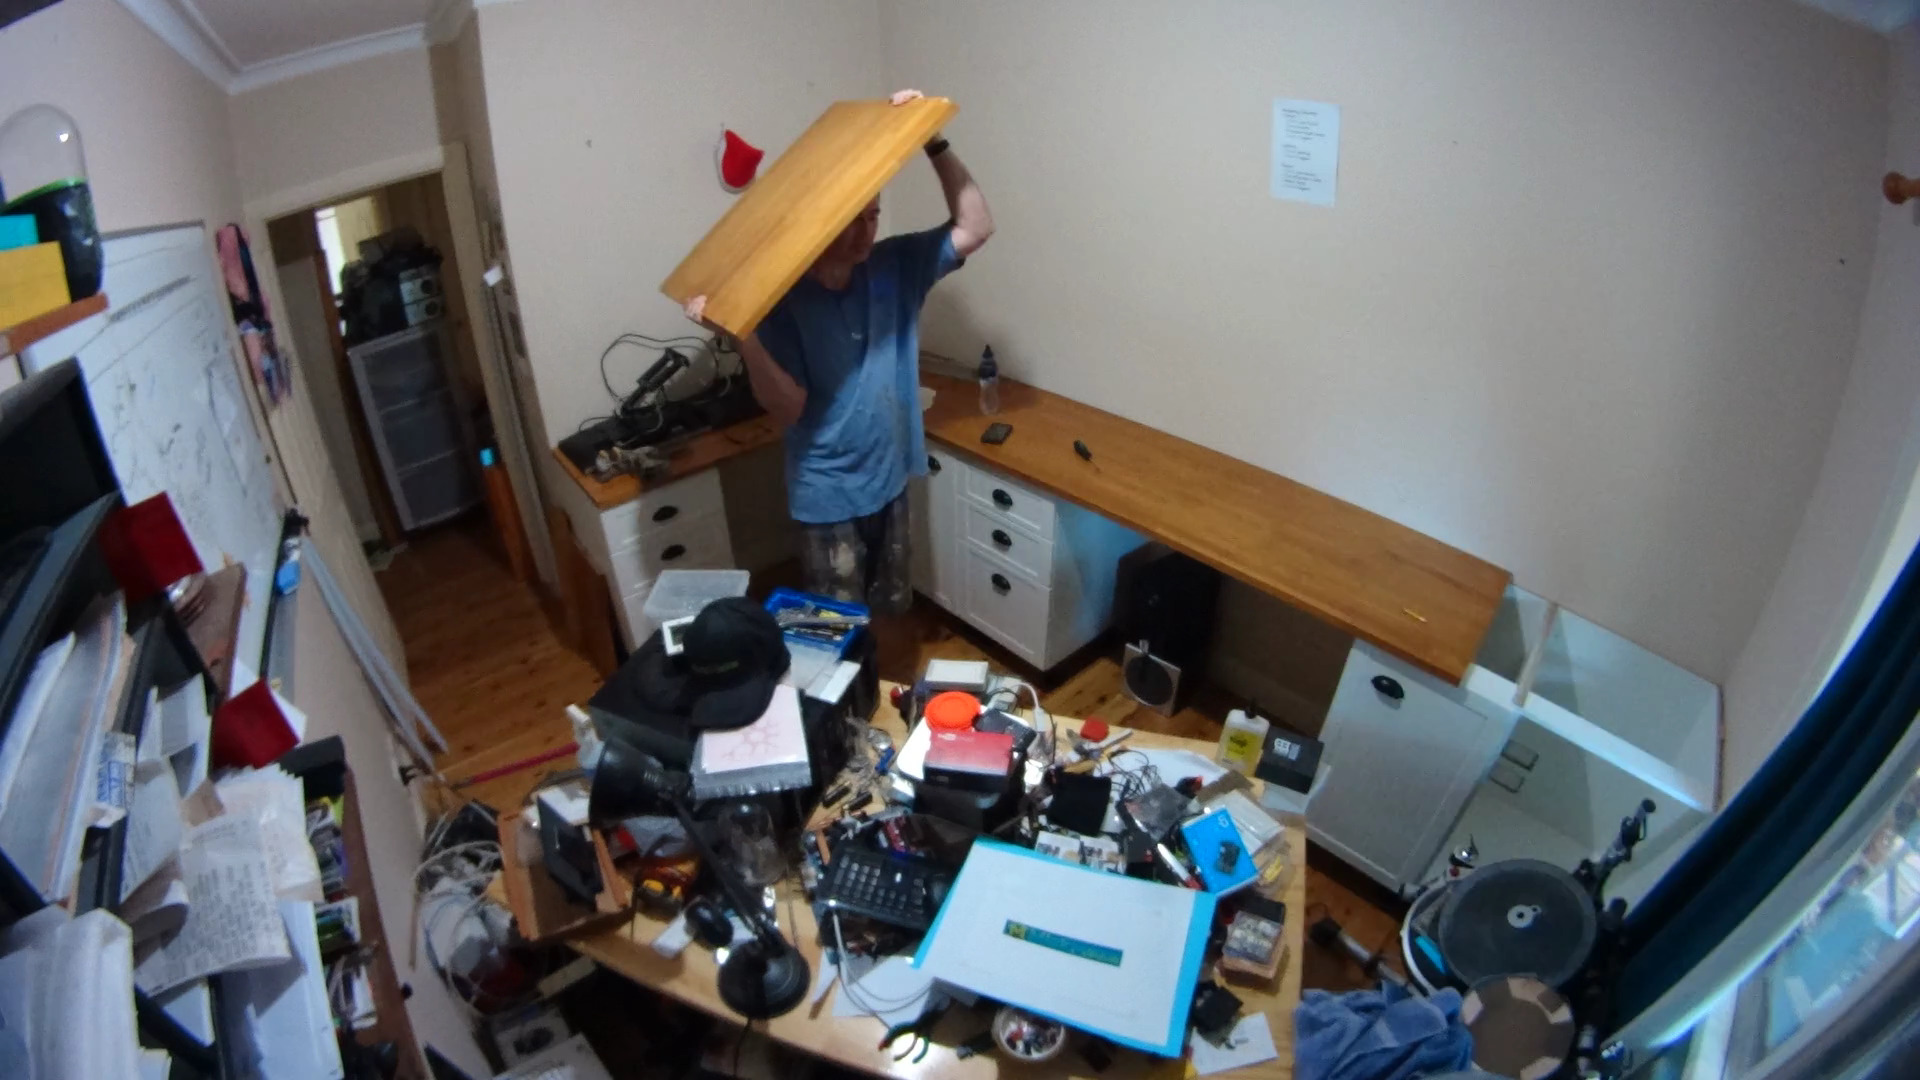
Fit out
Then on to setting up monitor arms and shelving. I reused the existing shelving to save cost. I also used some reclaimed Oregon hardwood for the shelves.

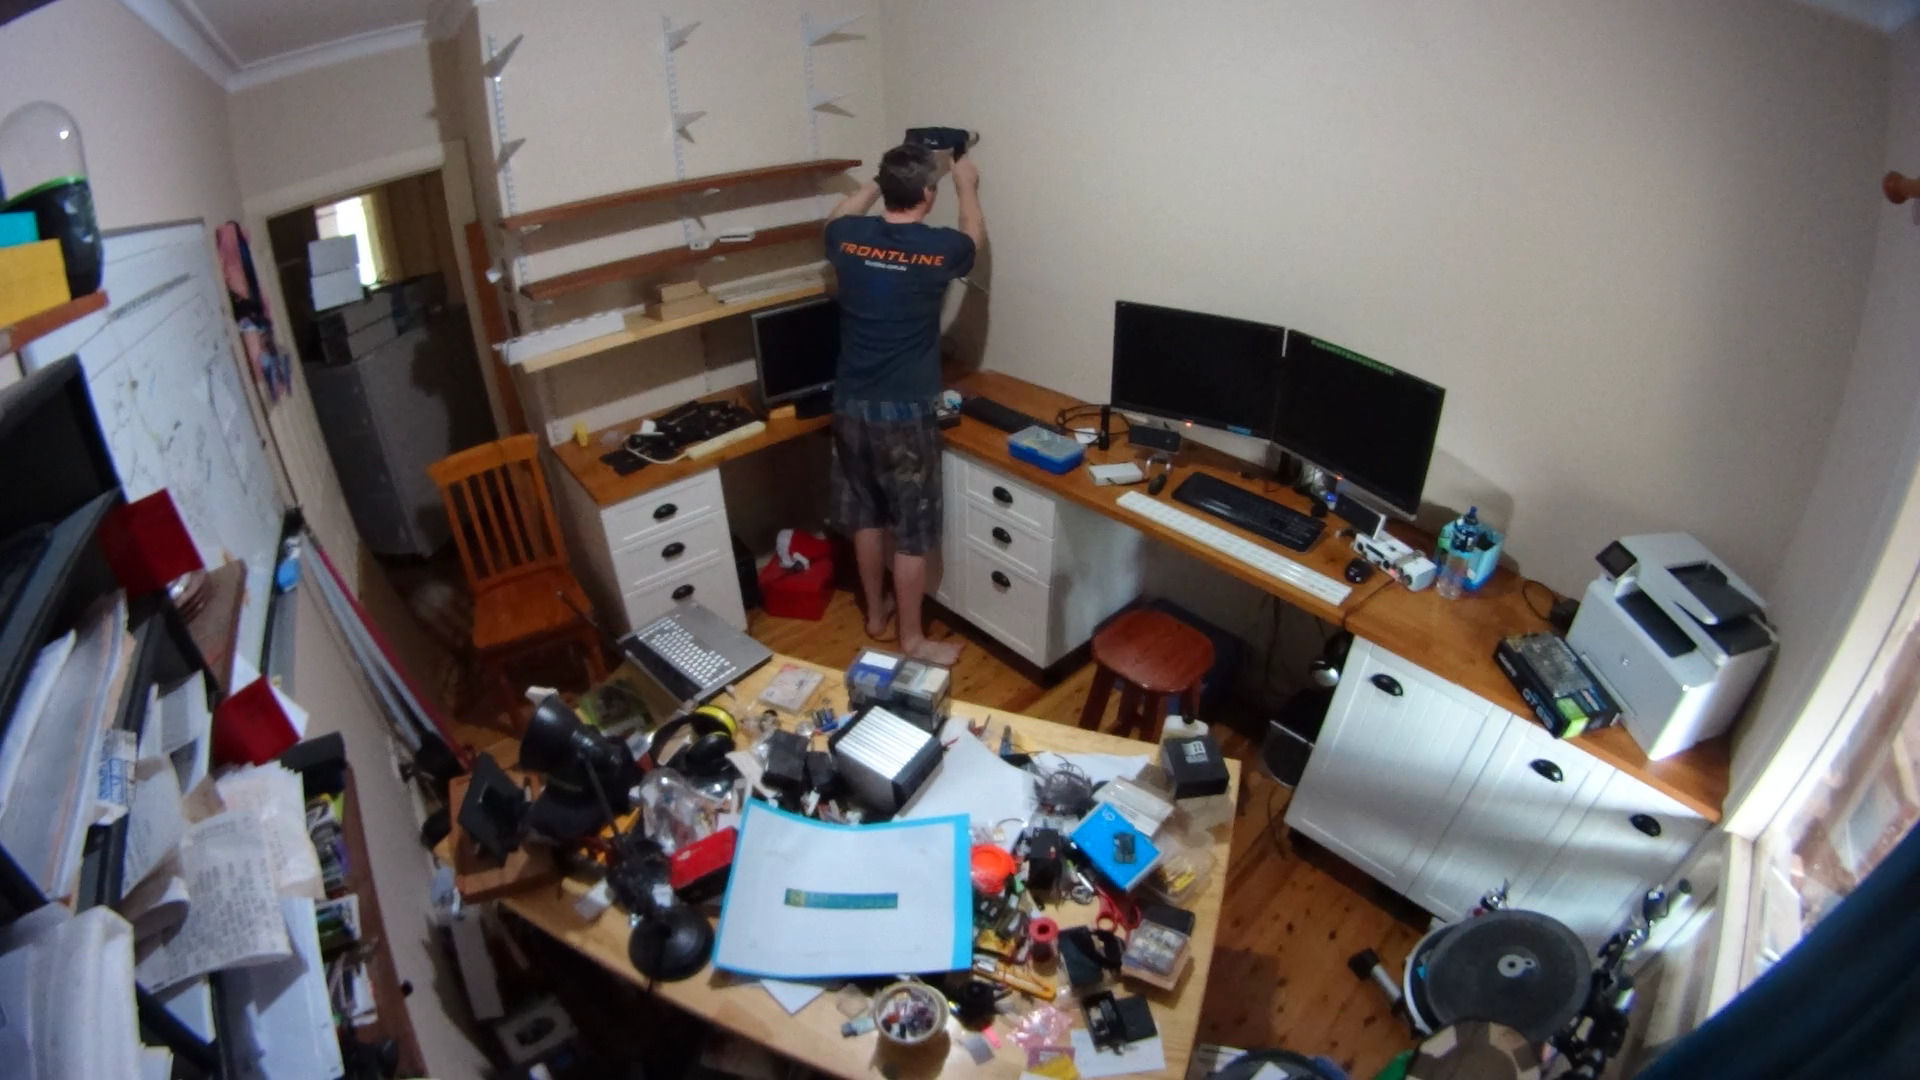
Finally! I can access my drum kit again!
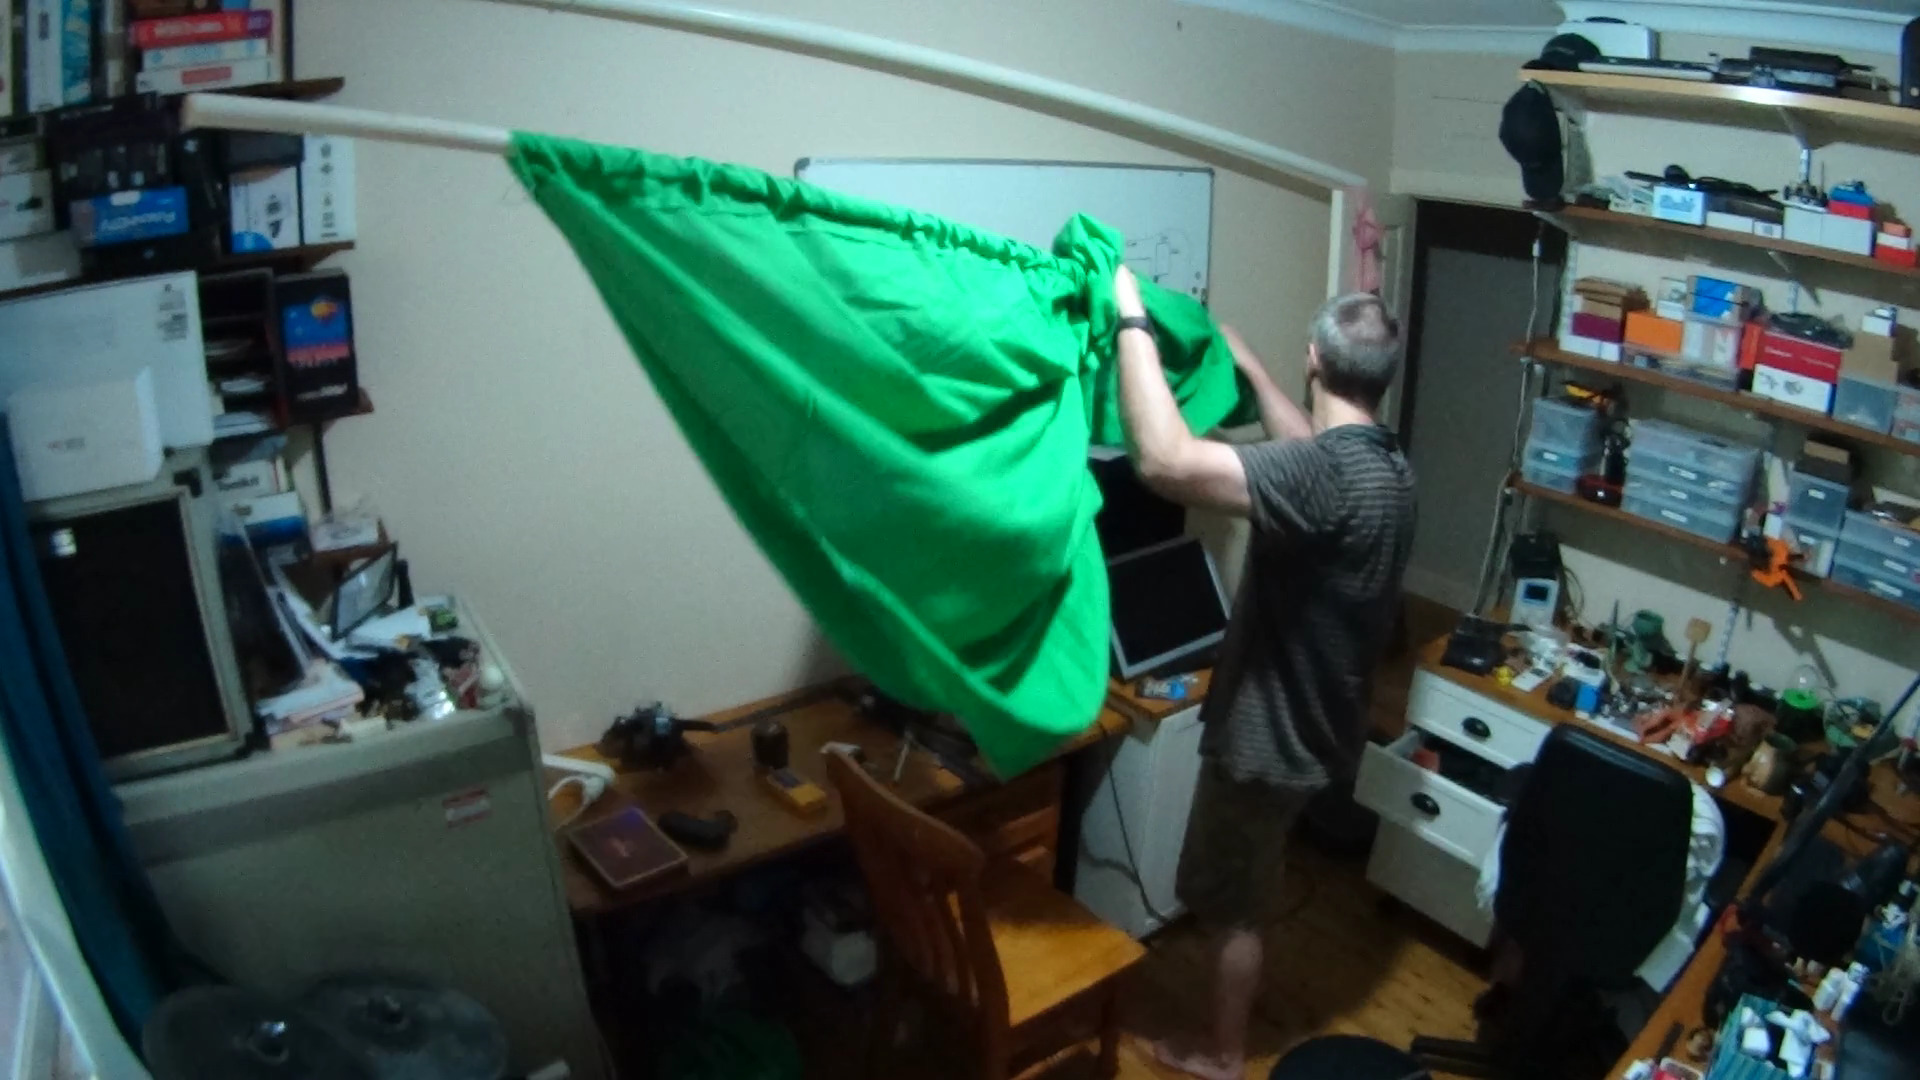
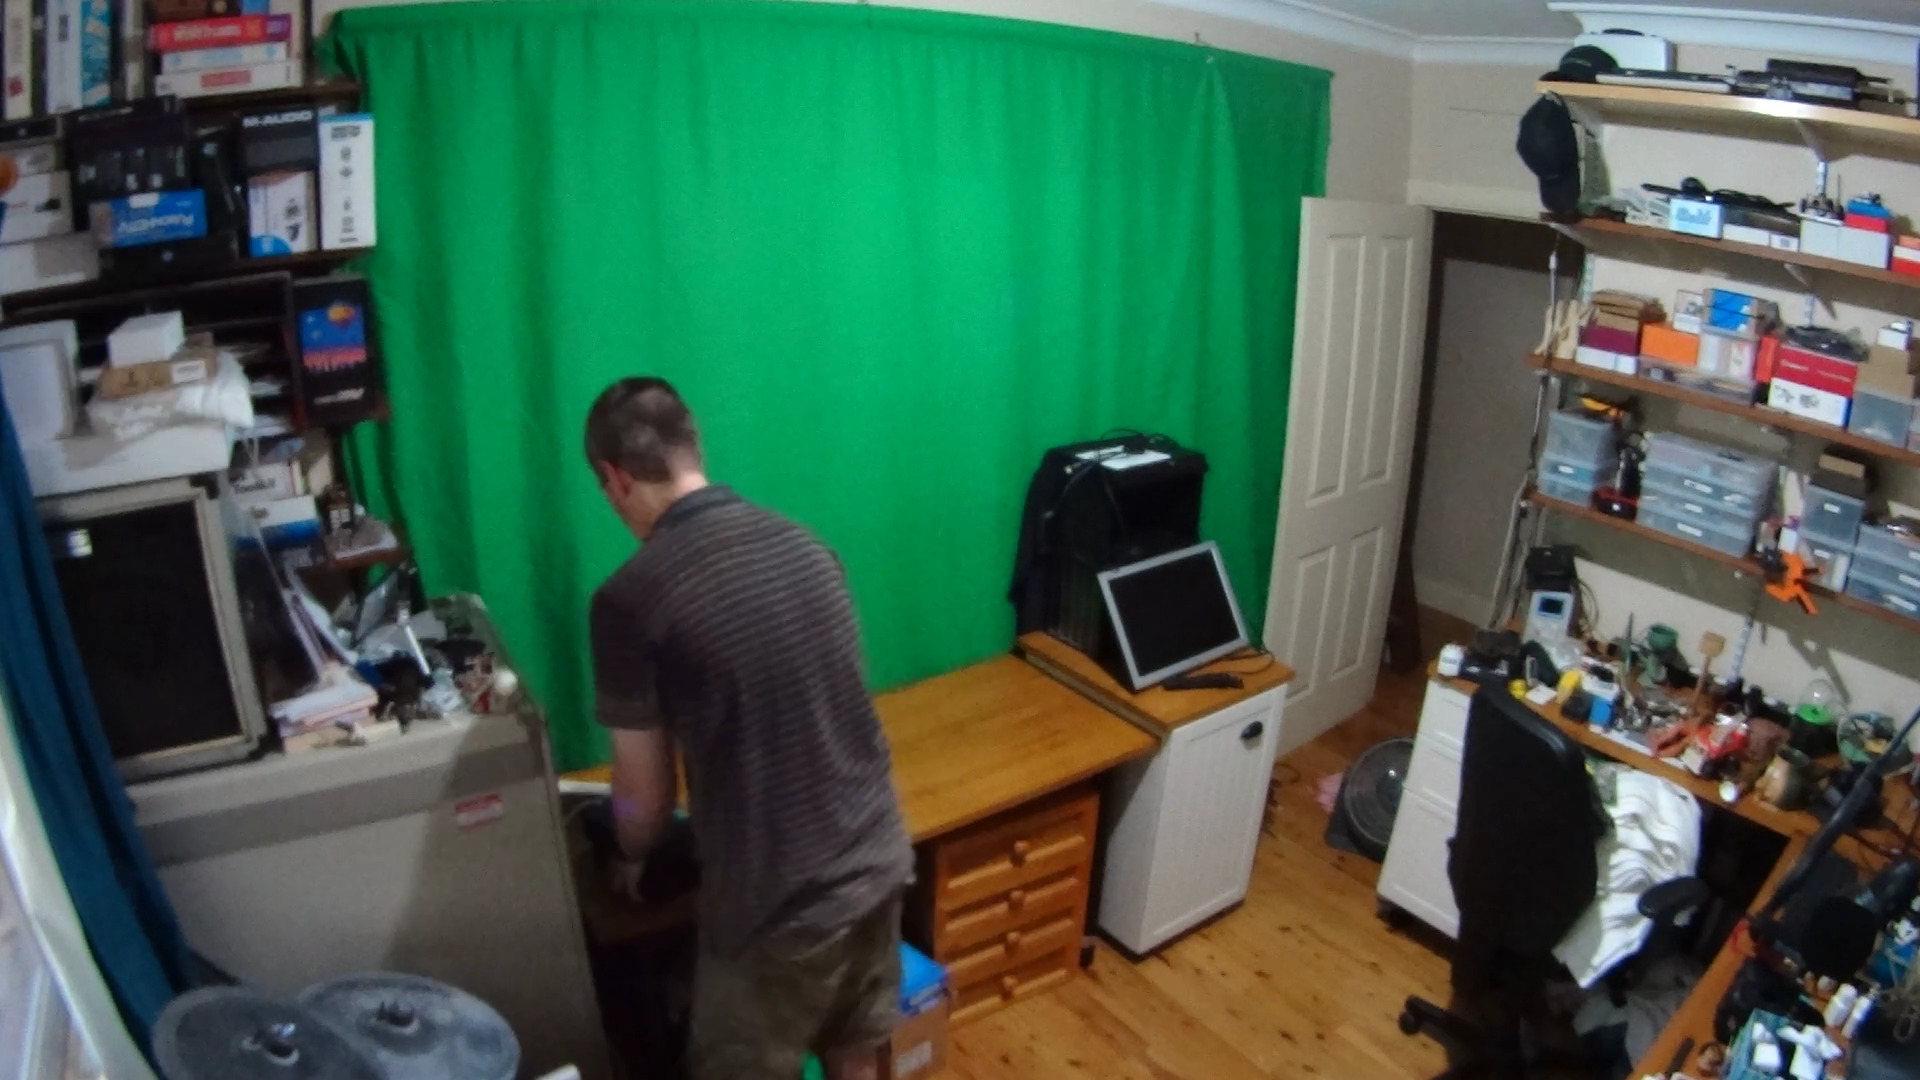
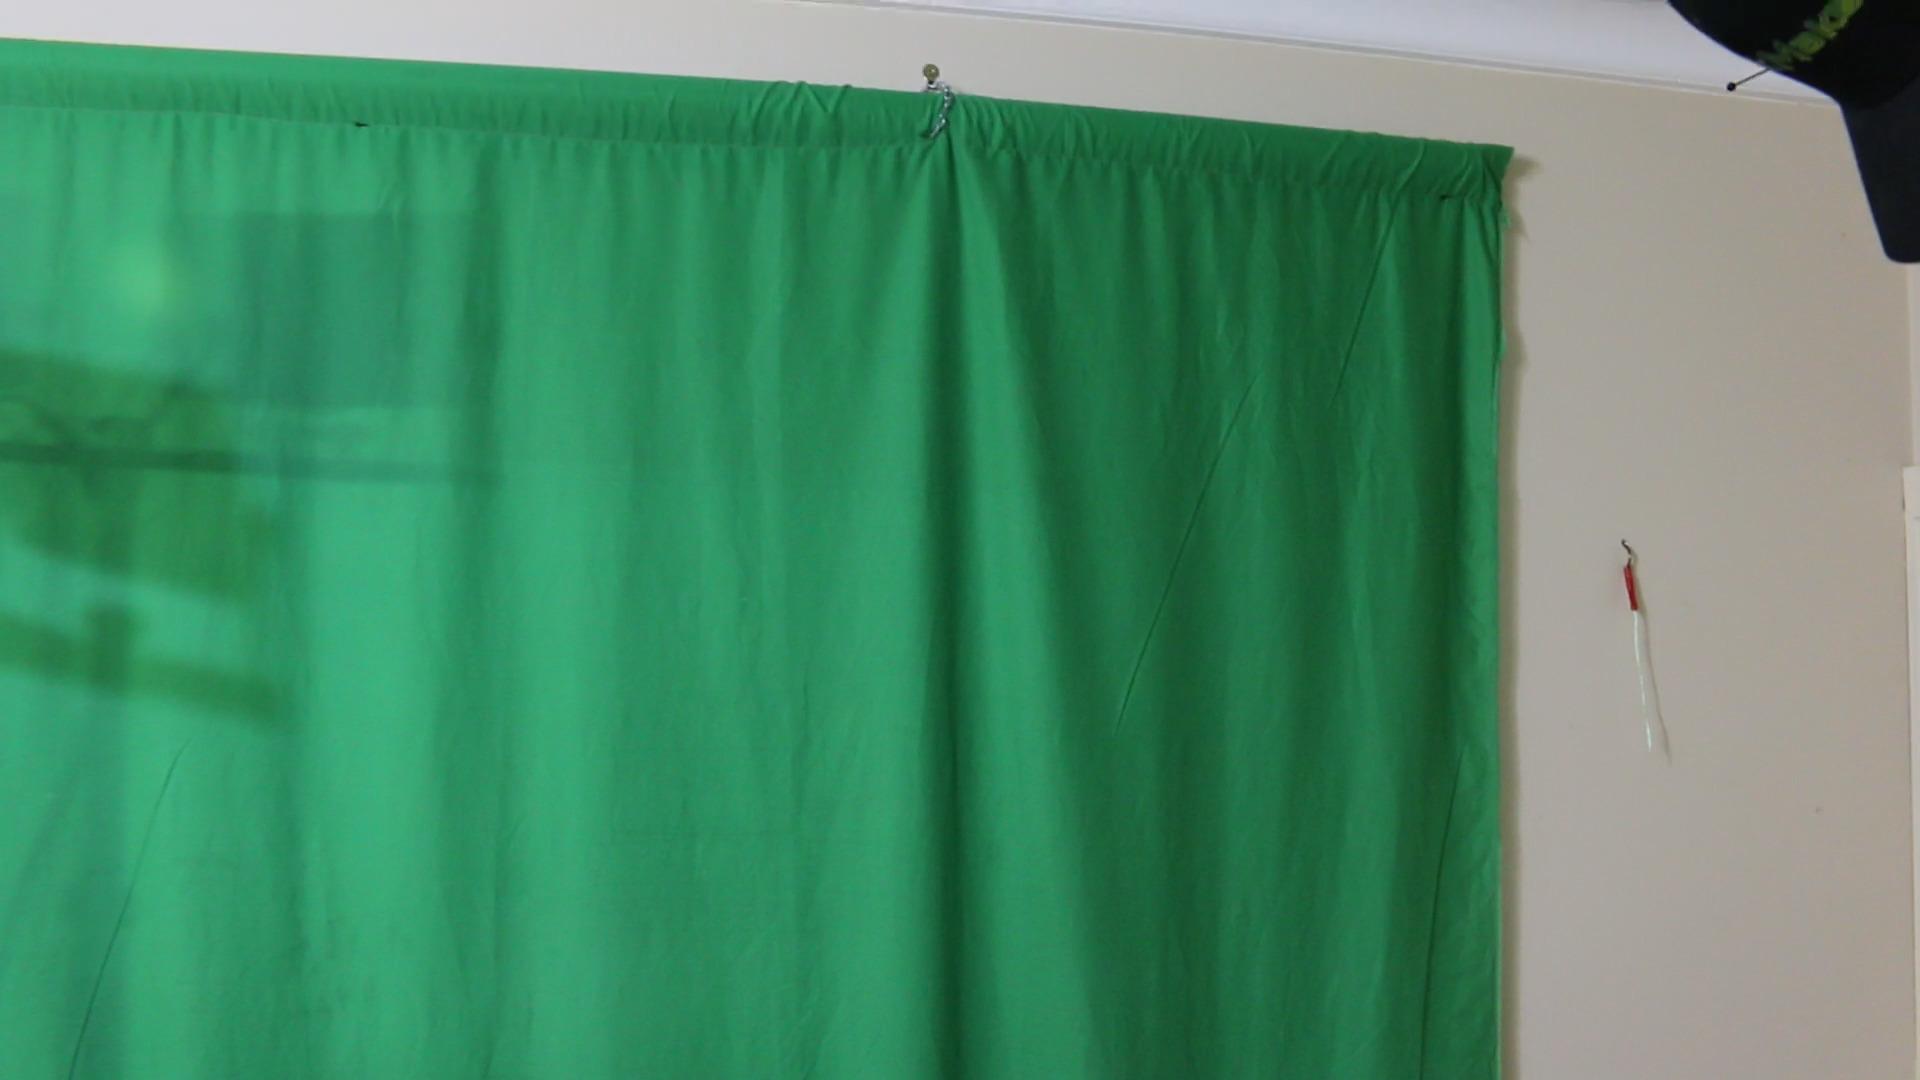
Green screen
Installing the green screen was easy. I bought some disgusting green backing material from a sewing shop and sewed a hoop in two ends. Then ran a 50mm PVC drain pipe through that. This reduces creases in the material and kept it nice and flat. Then hung that up using wire.


Lighting
My old studio lacked a lot of lighting. So, in the new studio I ran a long LED strip just under the rim of the bench-top. This is so I could see into drawers and cupboards without having to install lights in every one of them. Works quite well!
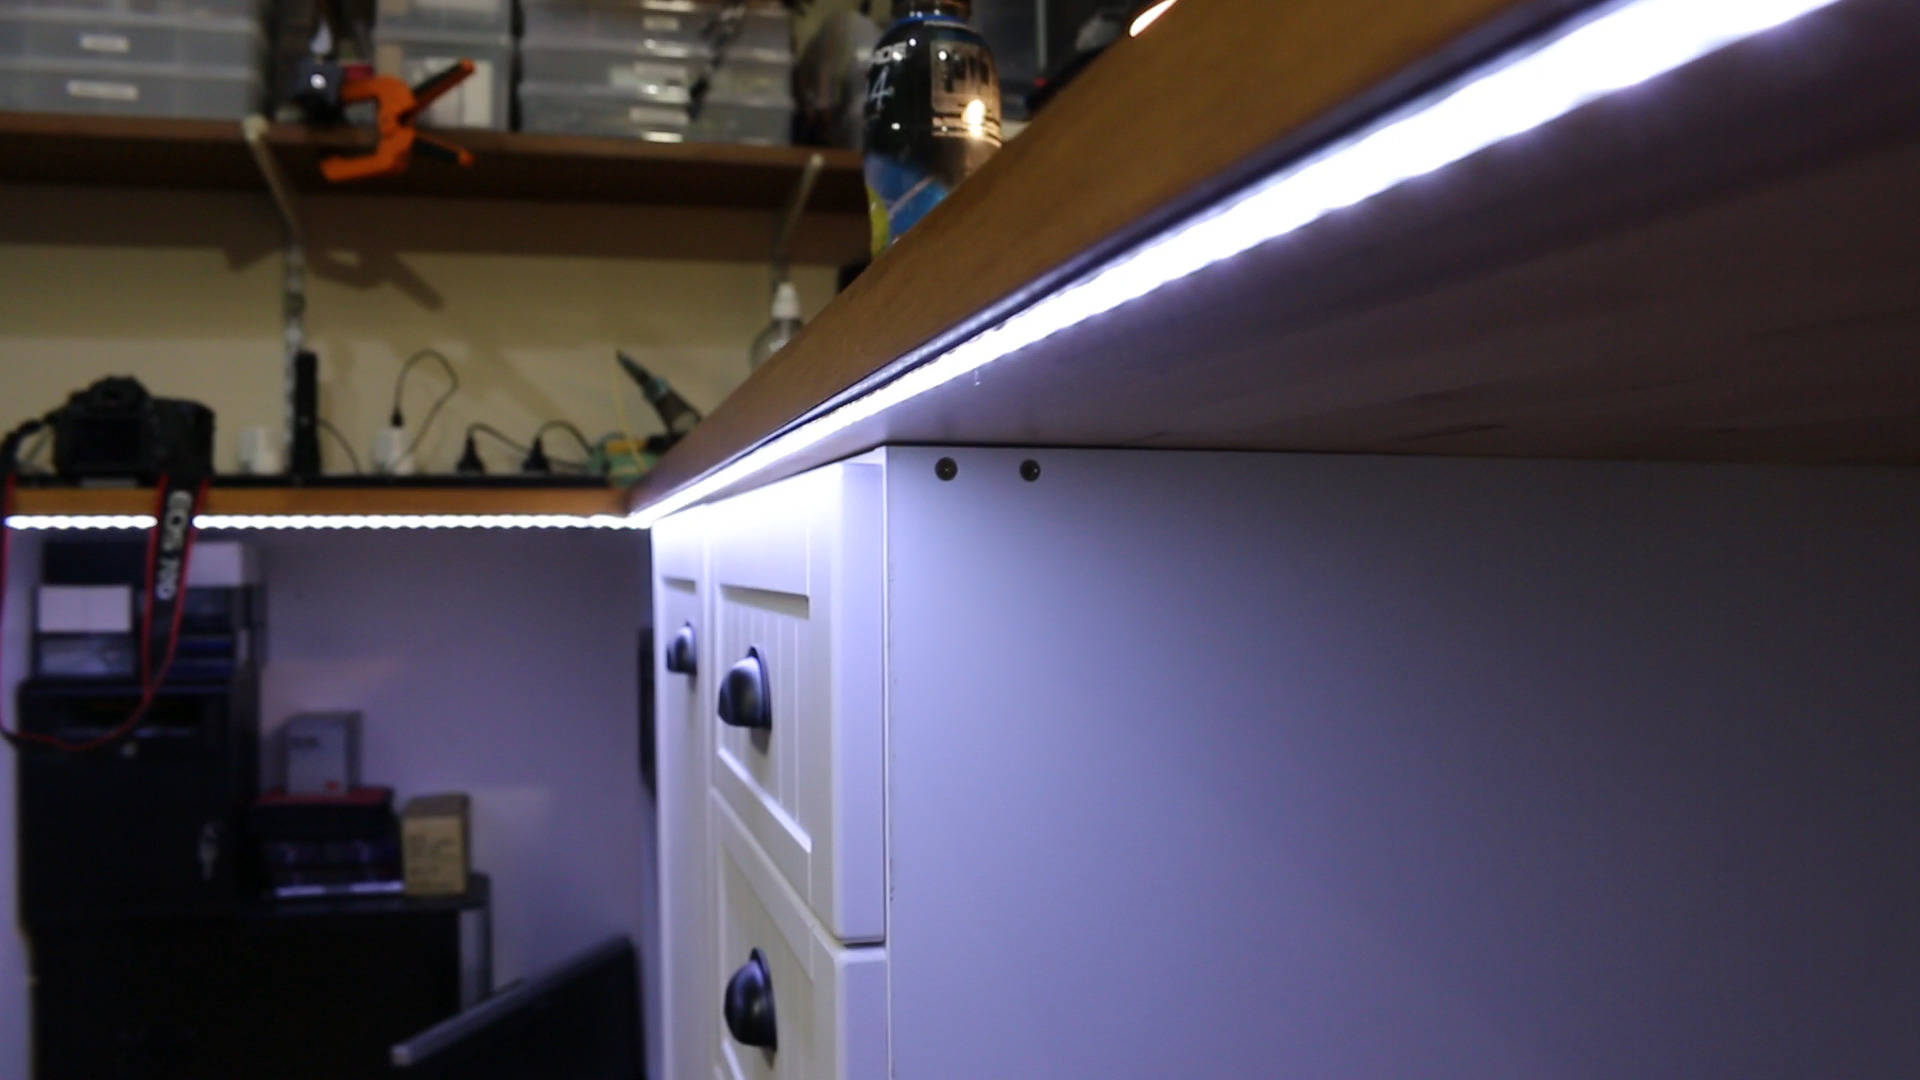
I also re-used my old Christmas Tree lights for under desk lighting. So I can control the colour temperature directly from the Teensy.


Acoustics
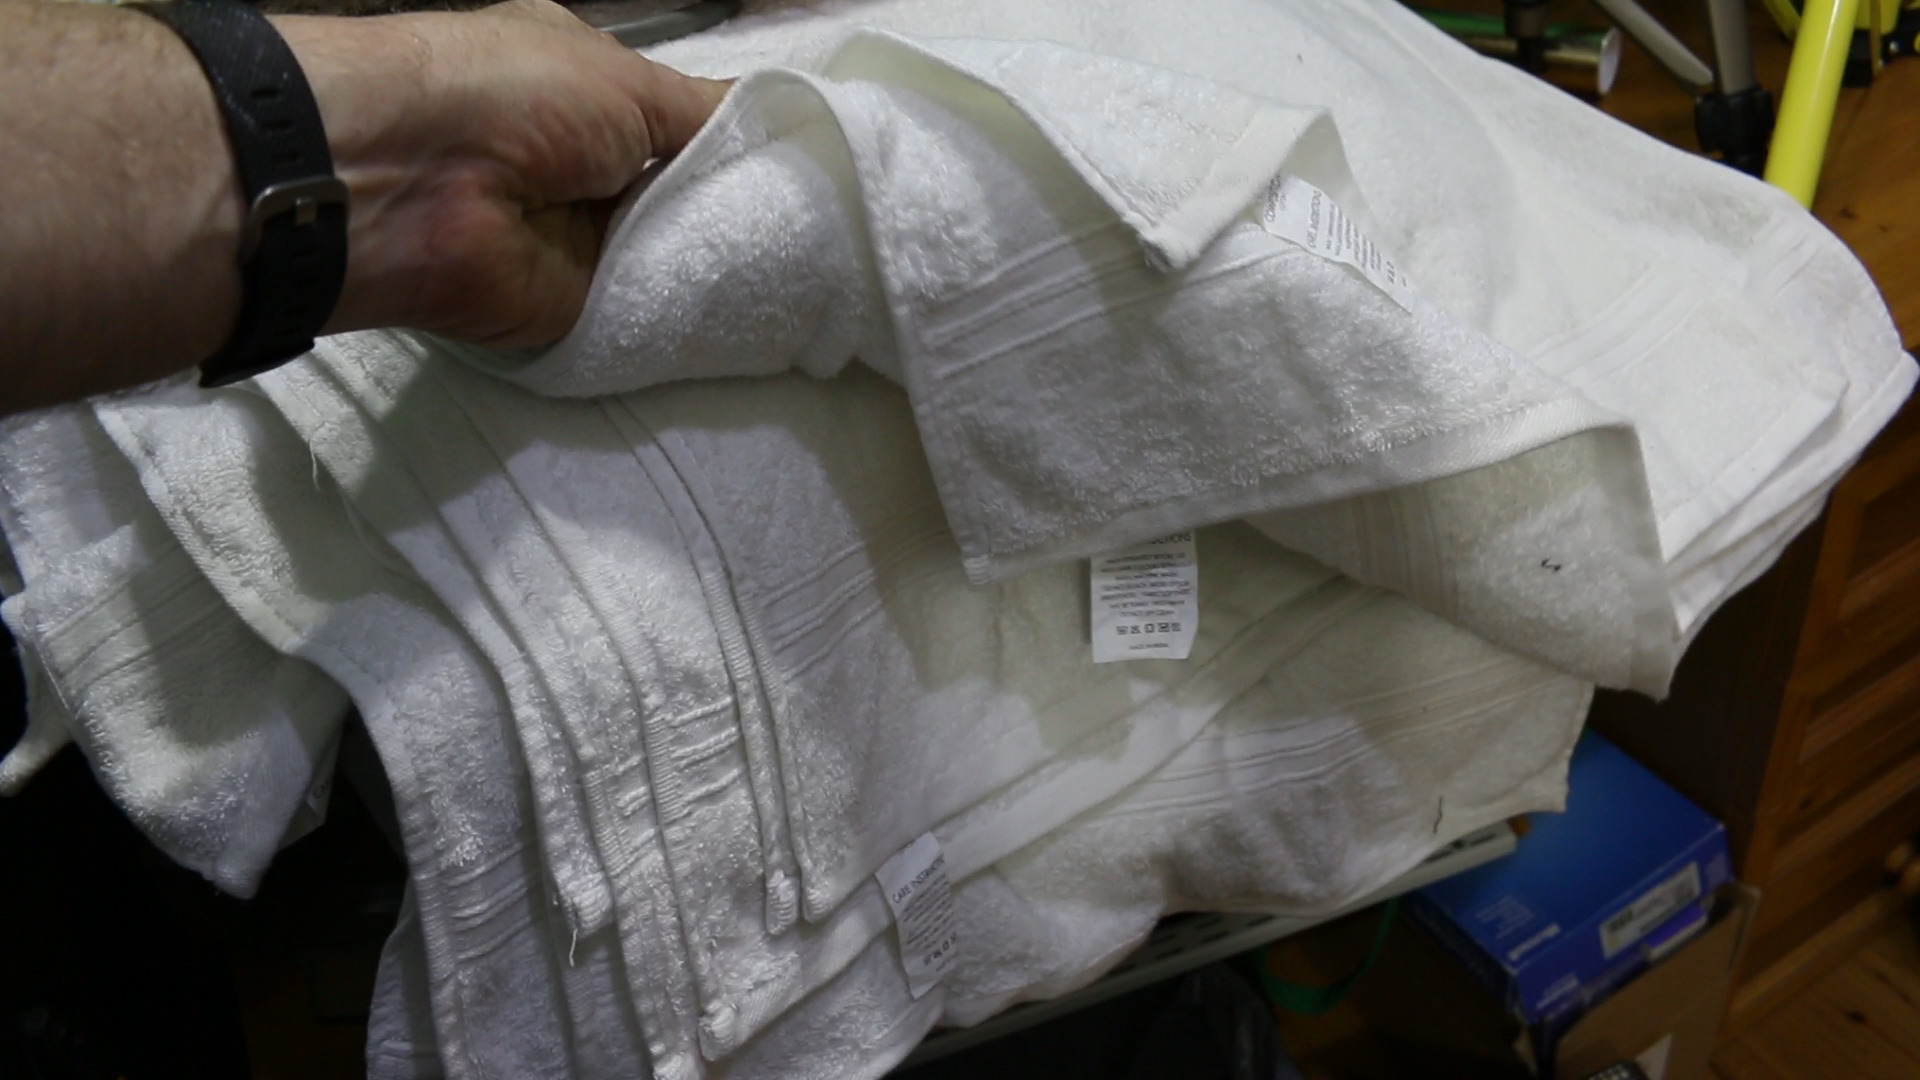
Acoustics is always hard in small spaces. Echos bounce around like crazy, especially with directly opposing walls. I reduced the echo a lot by making a small sound baffle out of 5 cheap towels and put into a frame. All towels were secured in each corner with a bolt. So, if I really needed to take them out it was easy to do. I plan to make more of these and hang them from walls and ceiling.

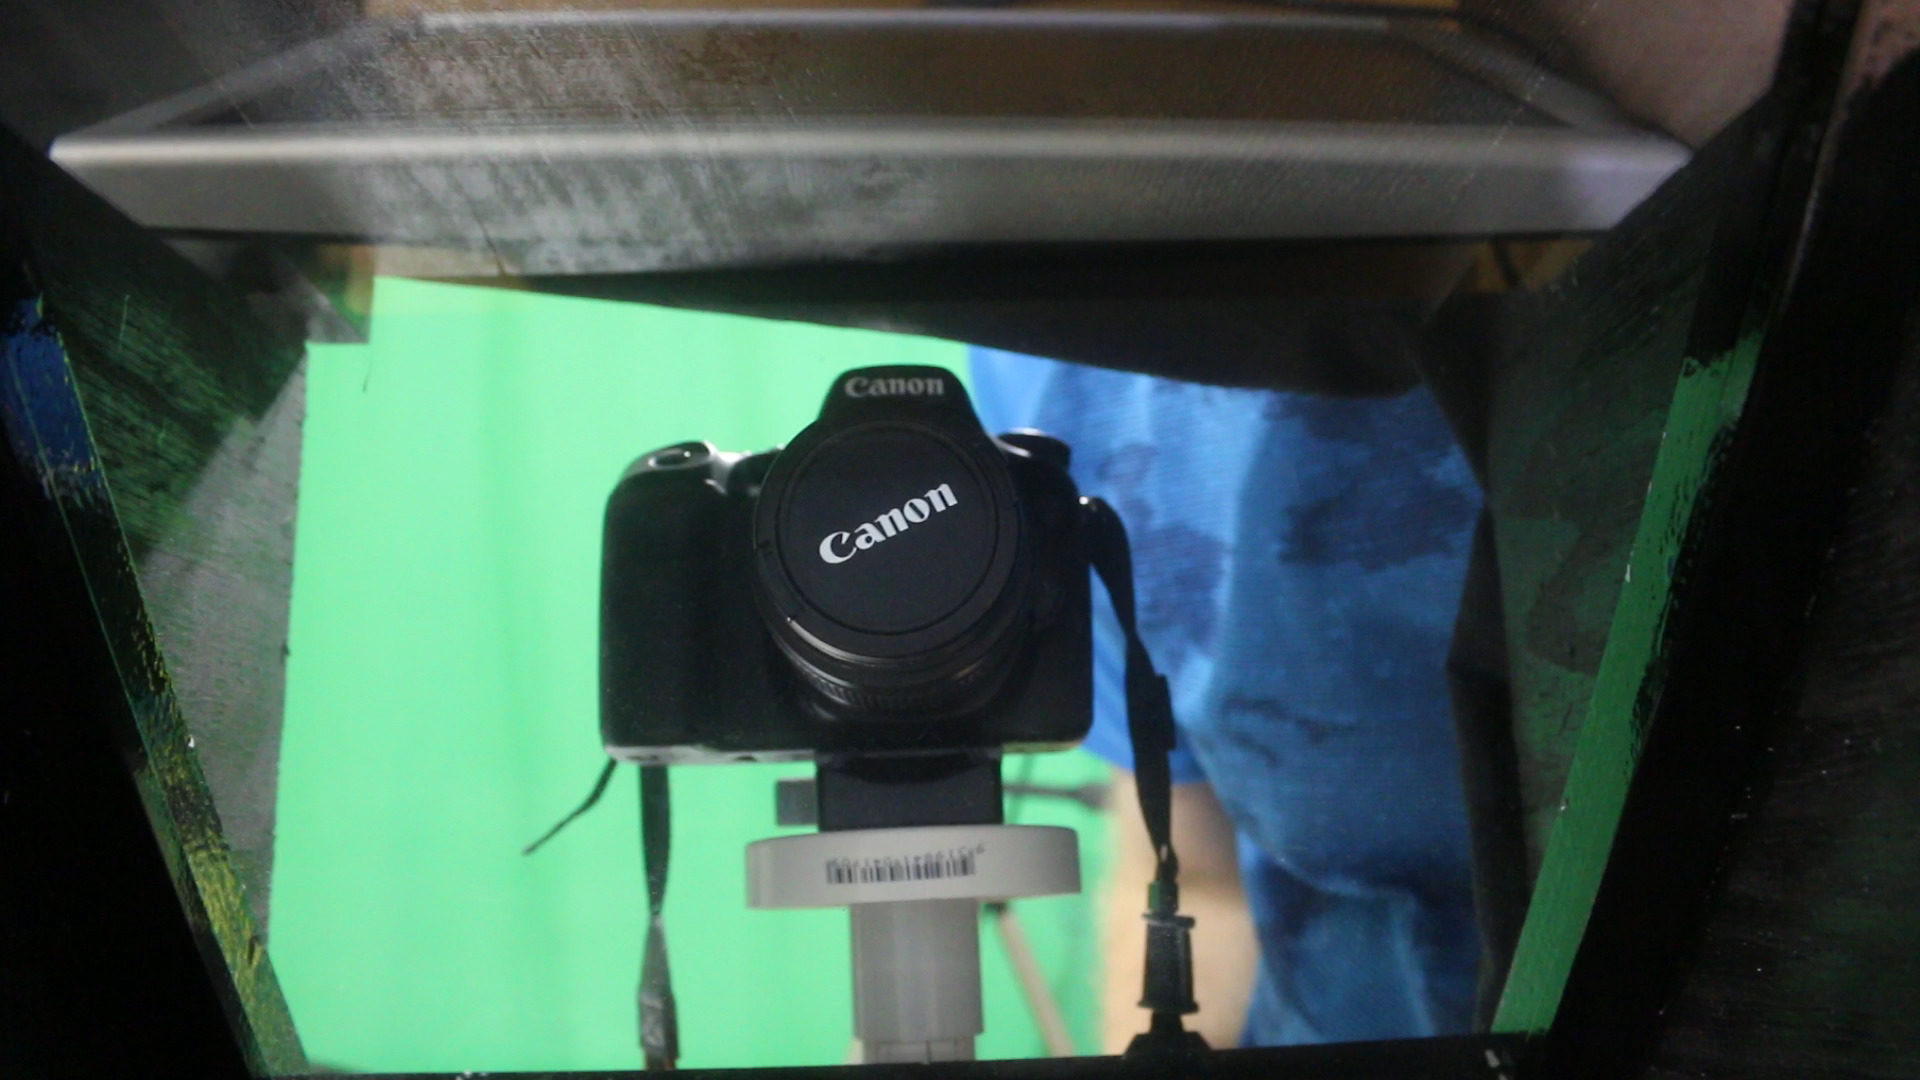
Camera mounts
I also bought some cheap camera mounts off eBay. These allowed me to attach plates to my cameras and then attach the base plates to walls and tripods. So, I can very easily and quickly move the camera around the studio.

I also made a teleprompter camera mount out of some spare telco conduit and cap ends.