
Blueduino Rev2: Low cost Arduino BLE // Review
The Blueduino is the cheapest Arduino based BLE board that supports full iBeacon functionality. It’s been on the market for almost a year now with the original version released late 2014. But, is it good enough for your application?
Hardware:
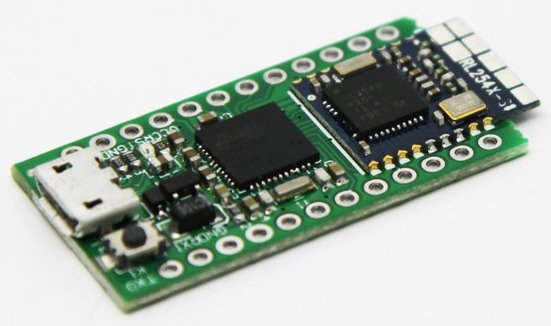
The Blueduino is an Arduino compatible micro-sized PCB with a Bluetooth 4.0 module soldered on supporting Apple’s iBeacon. The MCU used is the ATmega32U4 running at an 8MHz clock rate at 3.3v and is supported by the Arduino IDE from version 1.0.6 onwards. It has breakout headers on both sides which pull out 18 of the most used GPIOs from the ATmega; Namely I2C and SPI busses, serial, PWM and analog GPIOs. There’s also an onboard reset button and power LED. So, really everything is covered from the Arduino side. Power is supplied from the micro USB port with the MicroChip MIC5219 onboard regulator stepping the voltage down to 3.3v.
Alternatively, there are three other ways to get power to it:
- Firstly; you can power it from the “RAW” pin with a power source up to 12v which will be regulated down to 3.3v. Be mindful that the regulator needs at least 1v more than the 3.3 output voltage. So you can’t go below 4.3v
- Secondly; if you have a clean 3.3v power source you can directly wire up the Vcc pin.
- Thirdly; April Brother also sell a LiPo addon board for an additional US$3.99 that fits both the Blueduino and their other product called the Cactus Micro. This uses Linear Technology’s LTC4054 battery management chip which allows the Blueduino to be powered either from USB or LiPo battery without disruption. When powered from USB the LTC4054 will also charge the LiPo.
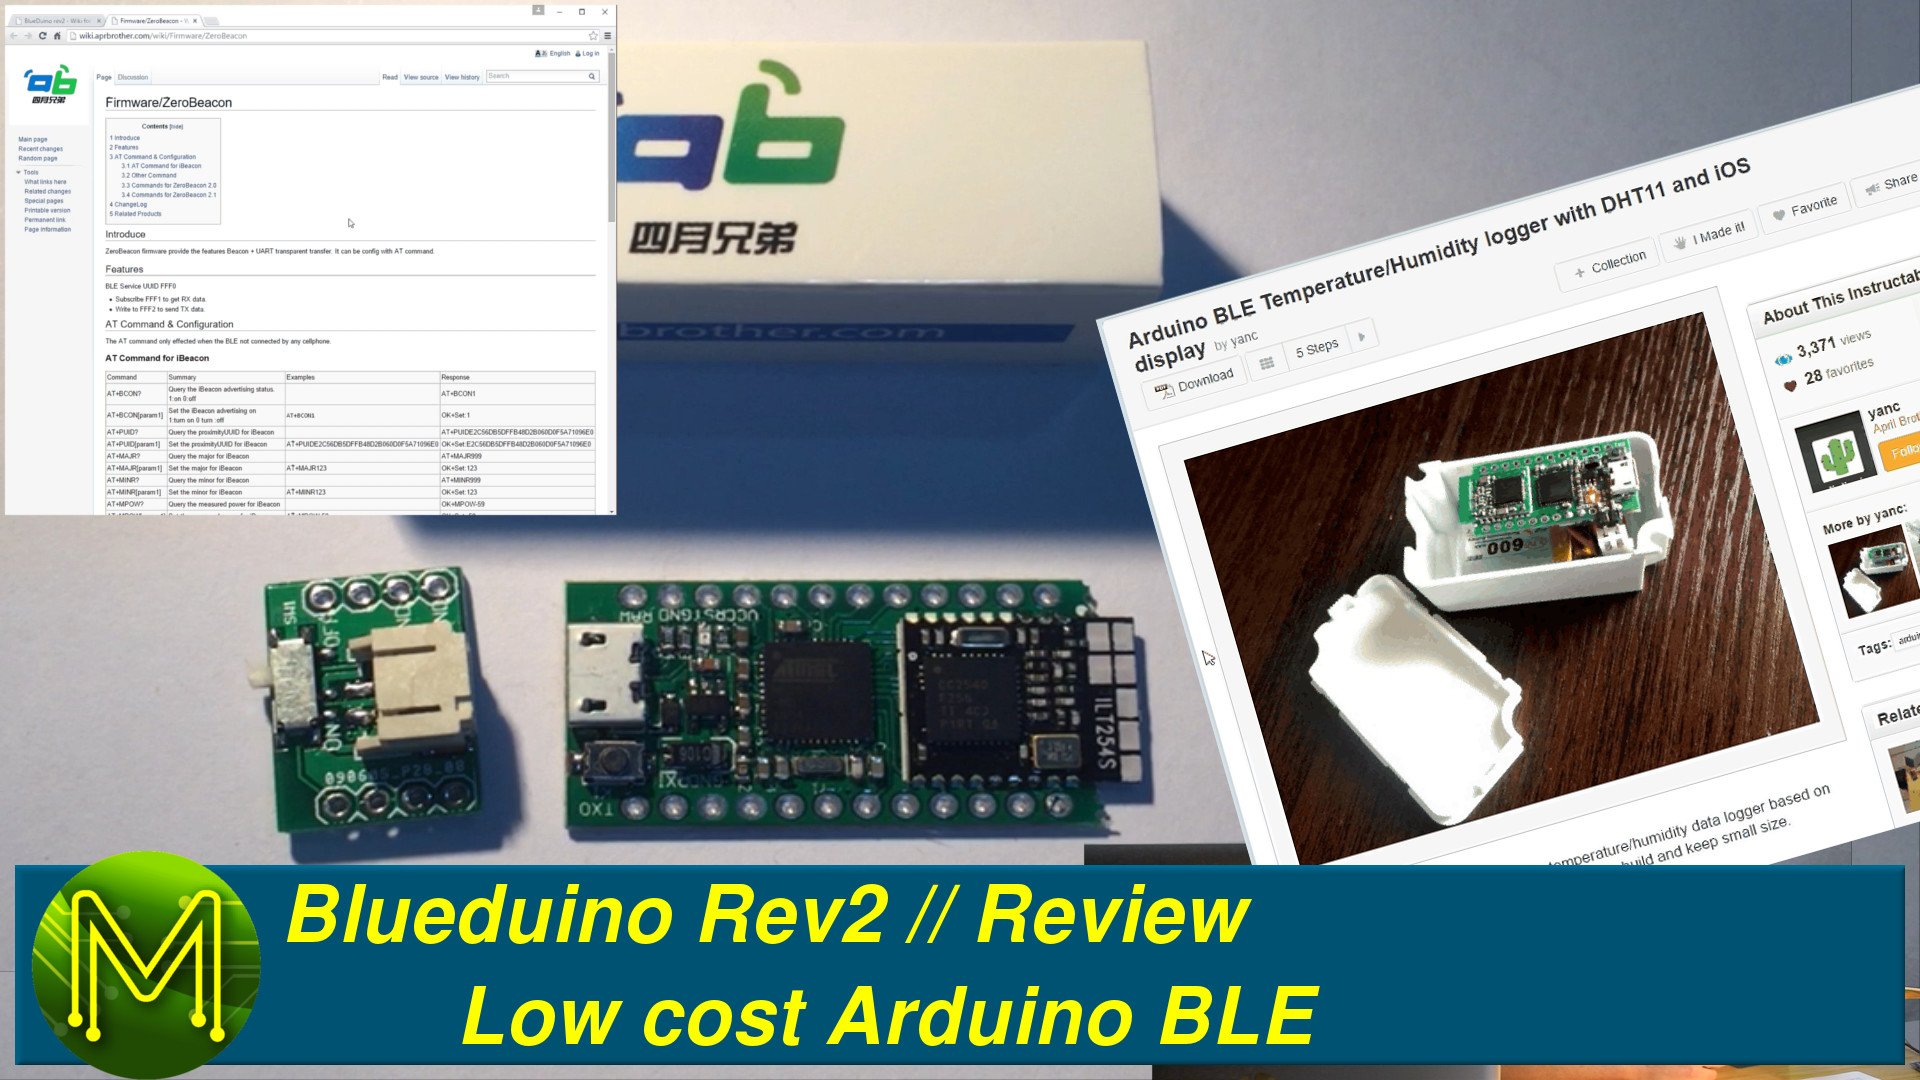
The BLE module used is based on TI’s CC2540, which is a fairly solid BLE module that’s been around for some time now. It is accessible from the Atmega from the serial1 port. April Brother has provided their own ZeroBeacon firmware which allows configuration of the module using AT style commands.
There are a number of commands which control iBeacon advertising rates, setting the iBeacon NAME, PUIDs, MAJOR and MINOR numbers; querying and setting power levels, baud rate; and also puts the module into either peripheral or central role, and scanning and connecting to other BLE modules. The module and firmware is the same as used on April Brother’s other products like the ABBLEShield, ZeroBeacon301 and the PI305 for the Raspberry Pi.
Software:
From the software side April Brother provides a simple Arduino library that you can control the BLE module, with all the control being driven by AT commands. So the Arduino library pushes out just basic read/write commands off the serial1 port. There’s also an SDK for both the iOS and Android platforms that allows a fairly quick deployment of your application, or you could simply roll your own as the BLE module conforms to the iBeacon standard well. Integrating the SDK into your application is trivial although I only tested this on the iOS platform. There are also a number of examples provided for you to use and they have a short tutorial on Instructables for creating an iBeacon humidity sensor.
The BLE firmware can be updated, and there’s no reason why you couldn’t replace it with your own. The current ZeroBeacon firmware is at 2.1.
Testing:
From my initial testing the Blueduino performed really well. I was able to setup an iBeacon, download their demo app from the Apple App Store and have it working straight away. Developing a solid BLE based application is fairly quick and easy however there is a significant lack of documentation. So be prepared to dig around in the examples for fine tuning your application.
When using the LiPo addon board and a 150mAh battery, I was able to run the Blueduino for up to 3 hours whilst fetching IMU data from the I2C bus and streaming this to an iPhone at 10 samples per second. This is a decent amount of time without any power optimization code at all.
However, there were a few hiccups during testing. Very occasionally the BLE module would lockup and this seemed to be due in part to the amount of data streaming through the BLE module. Too fast and it’ll lockup solid forcing a reboot.
Also out of the four modules I purchased, two had issues: One BLE module was Dead On Arrival and another the BLE module locked up after a week of testing and never recovered.
Also there is no way to control the BLE module when a device is connected. When you issue any AT command the device will be disconnected straight away. This means that you don’t have any fine grained control during an inflight application.
Summary:
Pros:
- For only US$14 with the addition of the US$3.99 LiPo charger the Blueduino is the cheapest out of the box BLE solution around.
- The low clock rate of the ATmegaU4 allows for a longer battery life compared to other BLE modules.
Cons:
- Depending on your application you may find the AT command method of control of the BLE module cumbersome and not much good.
- The high data rate lockup is a concern. However, I am currently speaking to April Brother to get to the bottom of this and will post an update when I have it.
- The 1/4 DOA device is also not good.
Would I buy again?
It depends on my application: If I wanted a cheap, reliable low data rate device that could sit there for days, then yes. If my application is looking like needing a faster MCU or faster data rates then I’d look elsewhere. If my application requires dynamic changes to the BLE module whilst devices are connected, then forget the Blueduino. Other modules such as the new Simblee allow for dynamic changes to the BLE module during inflight connections. You can currently pick up the Blueduino for around US$14 on Tindie.
