Learning Arduino: Pullups and Analog Inputs // Episode 4 // Tutorial
MickMake is teaching Tim how to program an Arduino so that he can build an automatic firing mechanism for his Nerf guns. In Episode 4 he learns about resistor colour codes, pullup resistors, potentiometers, and reading Analog data.
By the end of this course he will be able to not only do that, but create a world of modding opportunities that will keep him busy for years. Everything that we will cover in this video series will help you to do the same, no matter what your project goals are. If you have any questions or comments feel free to ask on Facebook or YouTube.
In this fourth episode we will be taking a look at:
- Resistor colour codes.
- Wiring up the Button sketch tutorial from the Arduino IDE.
- Making changes to that.
- Wiring up the Analog sketch tutorial.
- What is a potentiometer?
Part 1: Resistor codes.
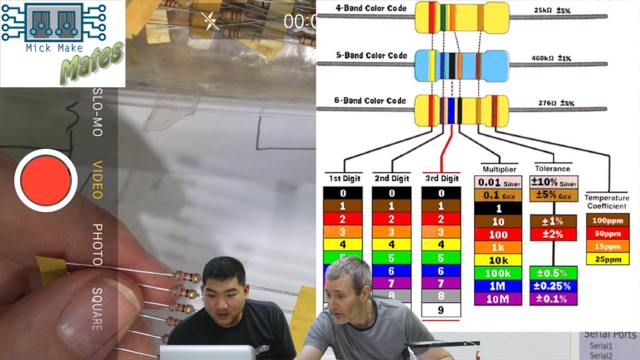
Resistors have a colour code printed on them so you can tell what value it is. Normally you will find 4 coloured bands, but sometimes you can also find 5 or 6 bands.
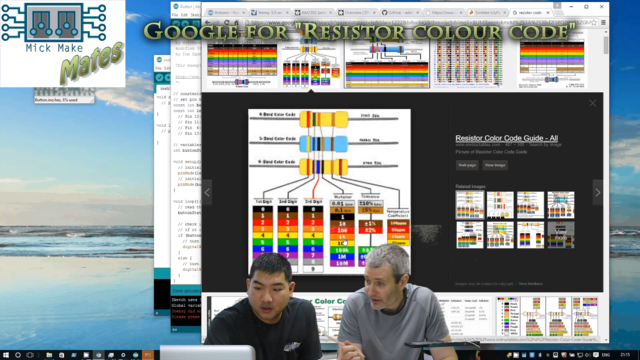
If you google for “resistor colour code” you will come up with many many examples.
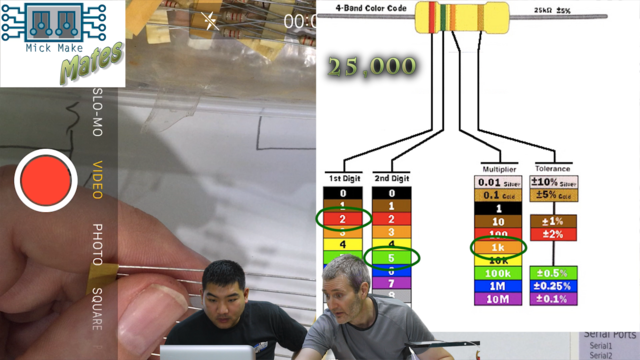
By matching up the colour to the number in the chart you can decode what value your resistor is. The first and second band define the first and second number of the resistor and the third is the “multiplier”. So in the below example we have a 25,000 Ohm resistor.
Part 2: Wiring it up.
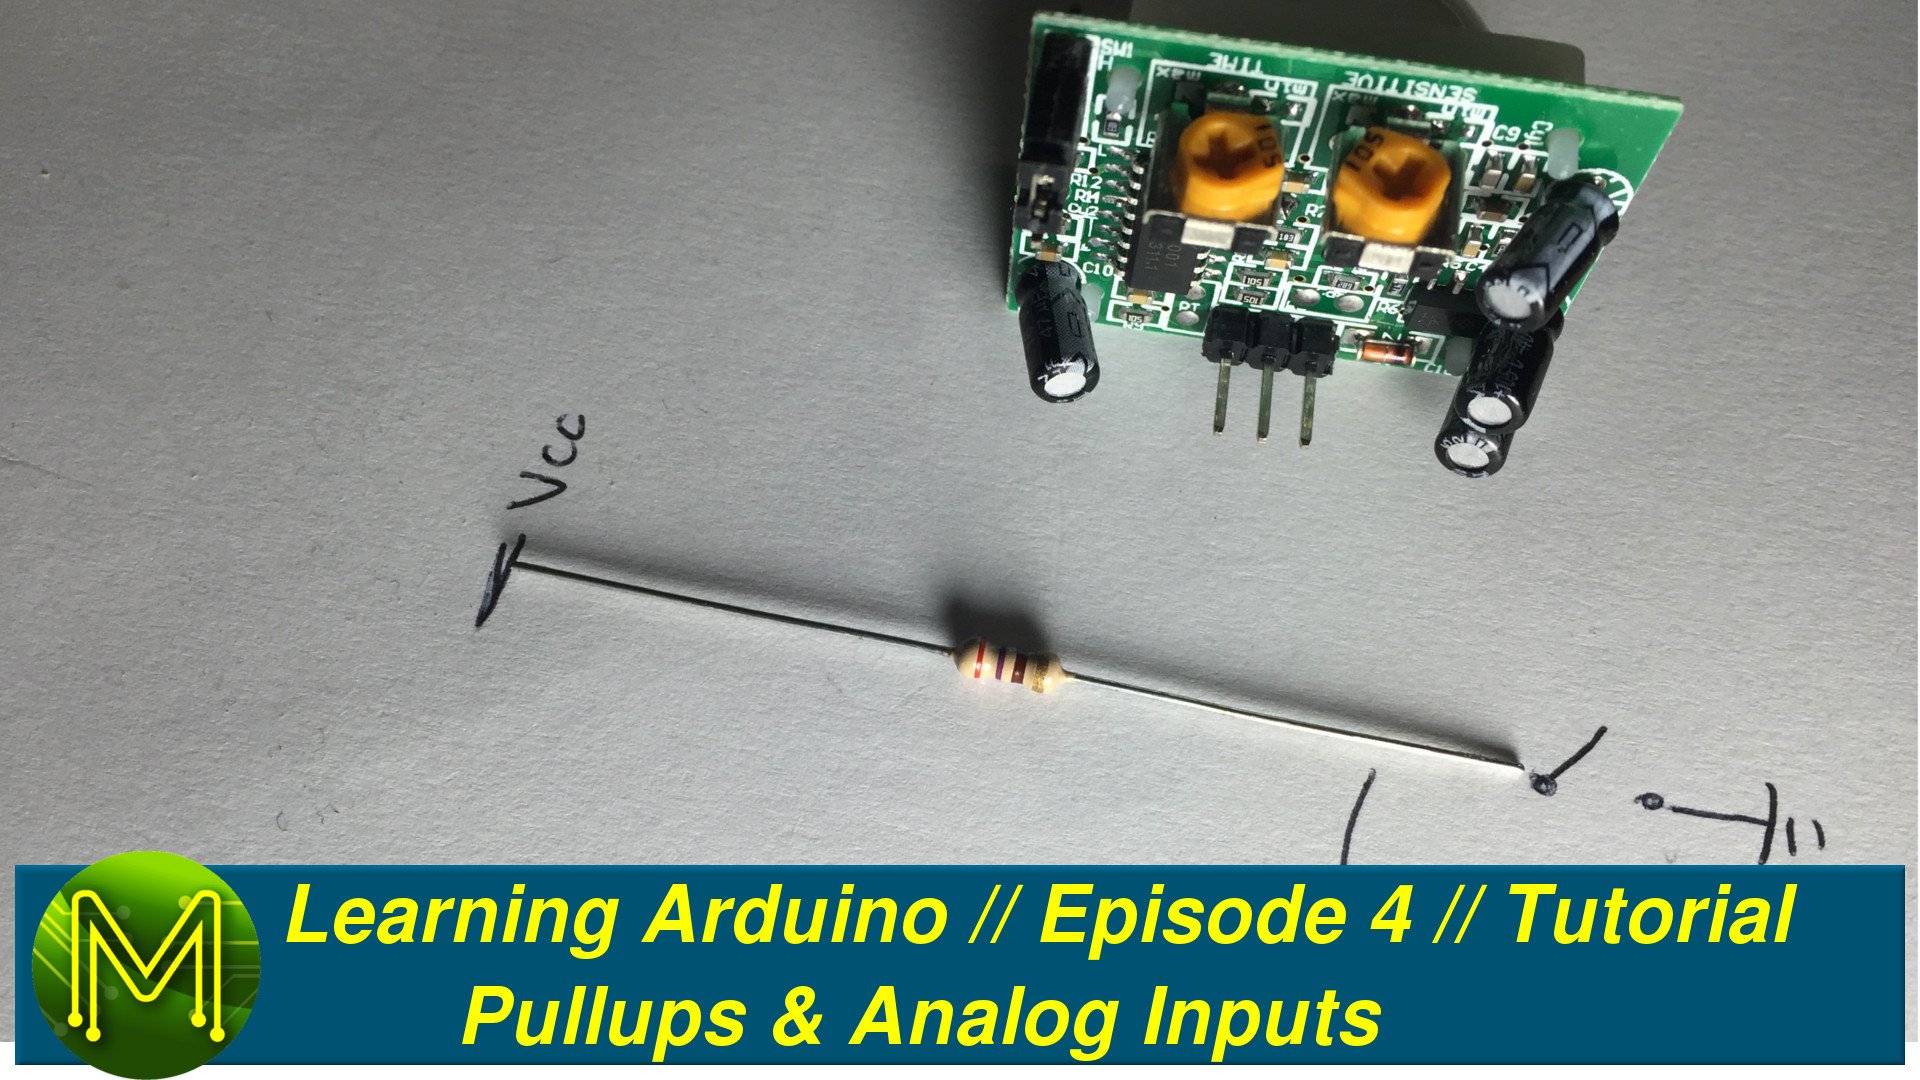
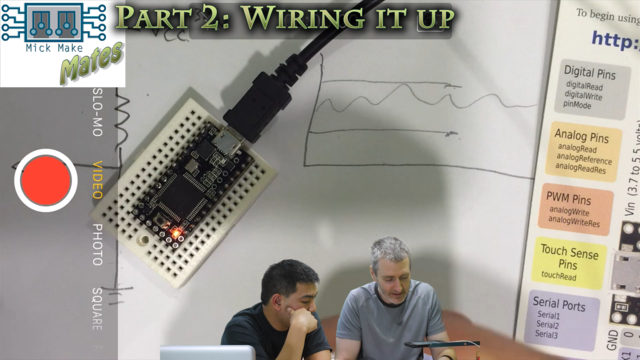
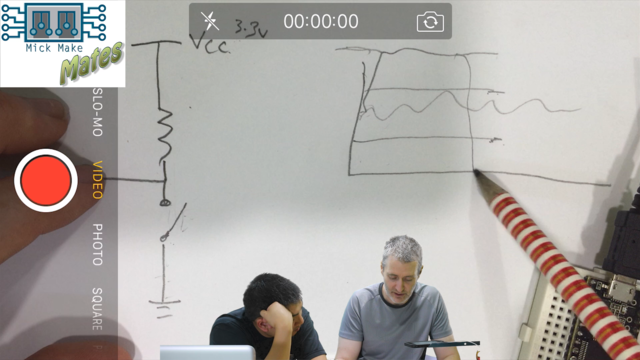
As shown in Episode 3 we had an issue with a “floating input”. A floating input can be solved by placing a “pullup” resistor attached to the input and Vcc which will set the default state of the input to a logical 1.
Then the switch will pull this to Ground becoming a logical 0. When pulled to Ground, current will flow from Vcc through the resistor to Ground. Also, whilst in this state there will be an effective short between the input pin and Ground. Therefore, the input pin will always be either at Ground, (logical 0), or Vcc, (logical 1).
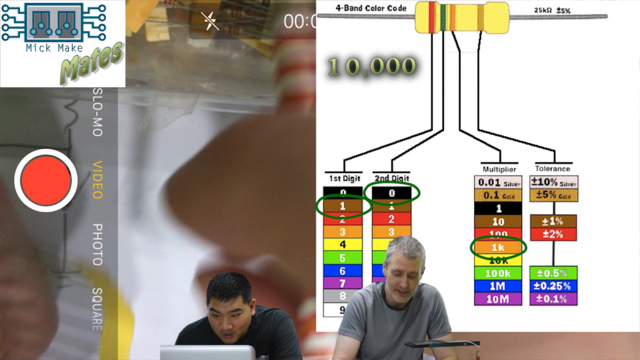
A high resistor value will ensure that you don’t draw too much current when at a logical 0. A good value for a pullup resistor is around 10K ohms.
Part 3: Change the code.
Now that we have our pullup resistor wired up, we can move back to the code. The Arduino sketch being used is the Button tutorial.
This is located under “File” -> “Examples” -> “02.Digital” -> “Button”.
In the video Tim sees just how effective a pullup resistor can be.
In this video I also give Tim a challenge. See if you can modify the default “Button” sketch to blink the LED on and then off when you have the switch in one state, and always off in the other.
Part 4: Analog tutorial.
Now we understand the concept of digital inputs we can move on to analog inputs. We will be using the “AnalogInput” sketch of the Arduino IDE.
This is located under “File” -> “Examples” -> “03.Analog” -> “AnalogInput”.
To be able to run the Analog sketch you will need a potentiometer. This is also called a variable resistor. In the video Tim had to re-assign the Analog input to another pin. Depending on what Arduino you have you can re-assign the pin to any of the Analog pins by changing the sensorPin variable at the top.
Part 5: Potentiometers.
So what is a potentiometer?
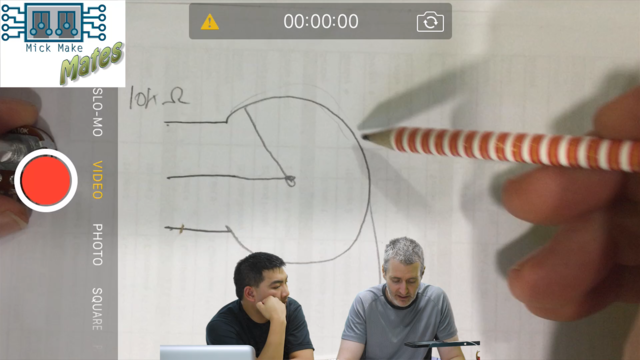
A potentiometer, (or “pot” or “trimpot”), is a variable resistor. That is; it’s resistor value can be changed by turning a knob.
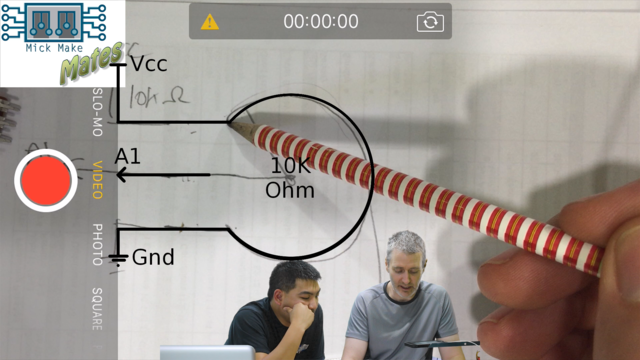
A pot will usually have it’s value on the side. This refers to the full scale resistor value and can be measured between the two end pins. The middle pin connects to a brush inside the pot that will move over the internal resistor. It’s value can be measured between the middle and either one of the outer pins.
Pots are used for many reasons. They have been historically used for volume control, but also have many other uses. For example: Control of UAV flight bias/trim, fan speed, lighting levels, etc. However, the more we extend into the digital life, the less you will see pots, as the same level of control can be achieved digitally.
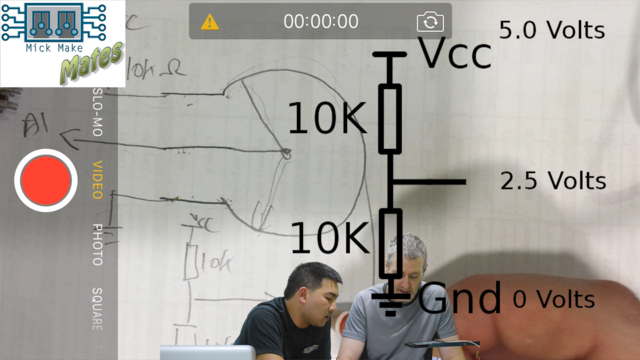
A pot can be used as a “voltage divider”. This is the basis of the AnalogInput sketch.
A voltage divider applies a ratio that is set by two resistors. In the above example we have two resistors of the same value. This means the centre tap will be 2.5v if Vcc is 5v.
10k/(10k + 10k) * 5 = 2.5v
If we have a 2.2K resistor at the top and 10k at the bottom then it would be:
10k/(2.2k + 10k) * 5 = 4.1v
For the AnalogInput sketch we will connect one of the outer pins to Vcc and the other to Ground. Then the middle pin connects to the Analog input of the Arduino, in this case “A1”.
The next episode:
In the next episode Tim will be finishing up with his Analog Input tutorial, and then taking a look at writing his own sketch that will be a combination of three different sketches; The Button, AnalogInput and Fading sketches.

