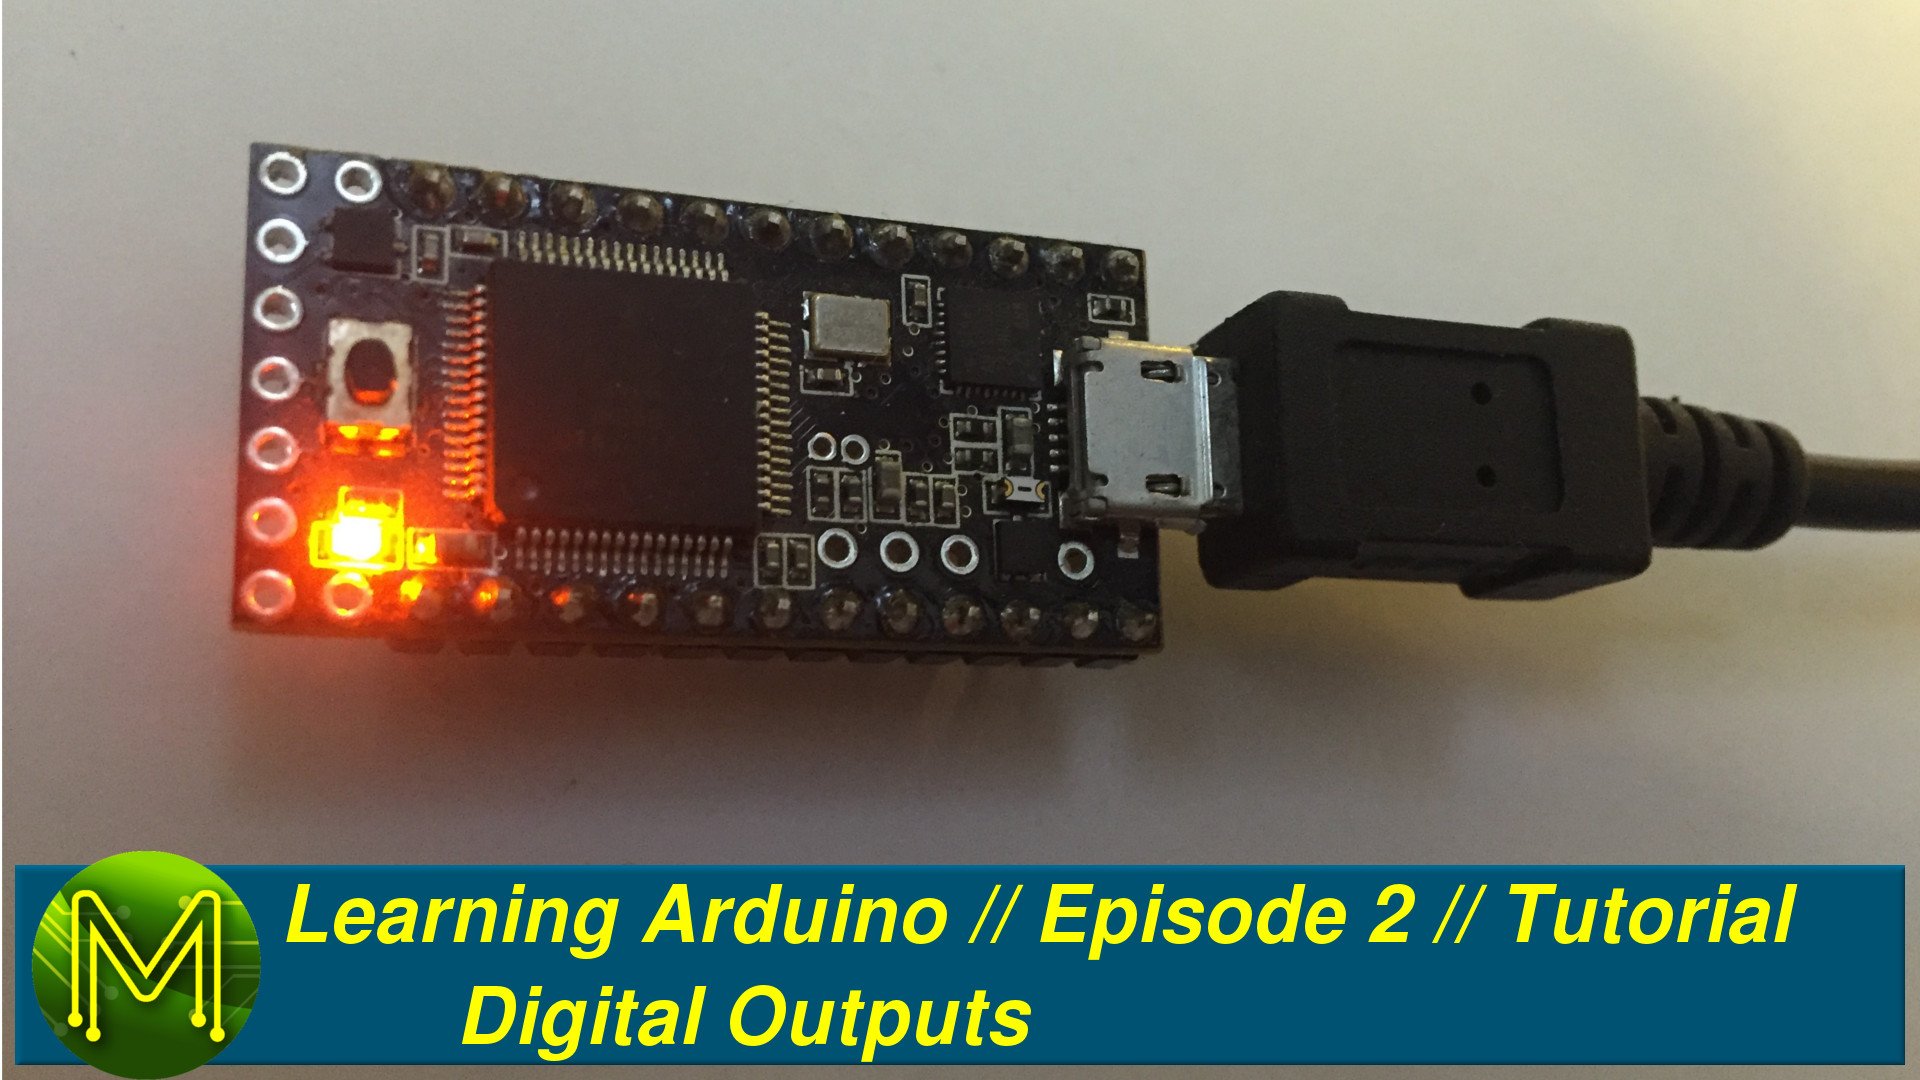
Learning Arduino: Digital Outputs // Episode 2 // Tutorial
So you want to learn Arduino? So does one of my mates, Tim. In this second video episode Tim leaps into creating his first program.
Tim’s goal is to build an automatic firing mechanism for his Nerf guns. By the end of this course he will be able to not only do that, but create a world of modding opportunities that will keep him busy for years. Everything that we will cover in this video series will help you to do the same, no matter what your project goals are. If you have any questions or comments feel free to ask on Facebook or YouTube.
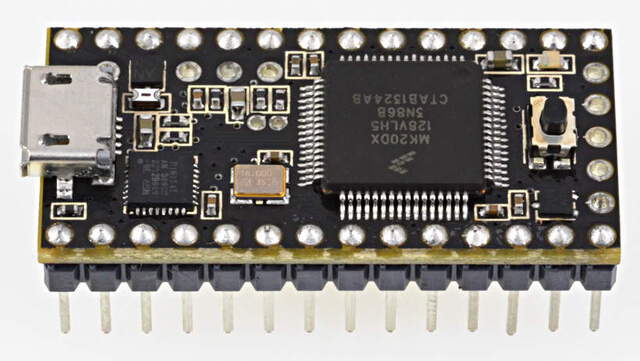
The Arduino board used within these videos is the Teensy 3.0, although any Arduino or Arduino supported board can be used. You may need to install additional software, or perform some additional steps, but the principles are the same.
Part 1: Download the software
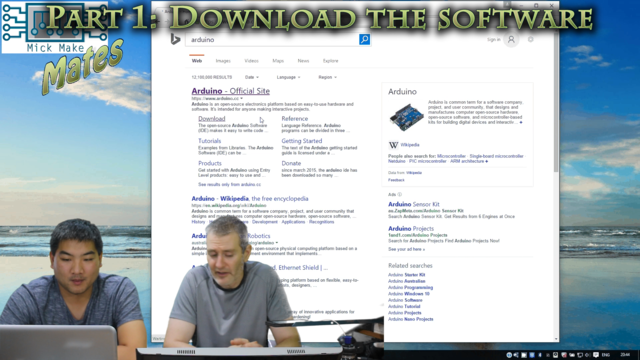
To get you started you need to first download the software. If you are using the Teensy 3.0 then you will need an older version of the Arduino IDE. Check the website of the board you have as you may need to do the same. Since we’re using a Teensy we also need to download the Teensy support library.
- Latest Arduino IDE.
- Arduino IDE v.1.6.7 for Teensy 3.0.
- Teensyduino support library for the Arduino IDE.
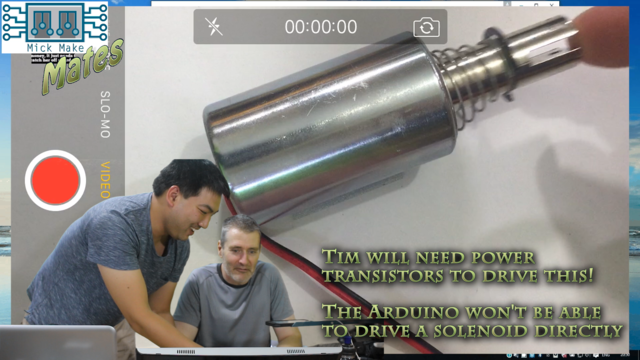
While we were downloading the software Tim gave a run through of what he intends to do with the Arduino. He has bought a rather large solenoid that will enable him to push out a foam Nerf dart into the path of two spinning discs. The Nerf gun works in the same way as a football or tennis ball thrower works. That is; two spinning discs will capture the Nerf dart and push it forward at high velocity.
He wants to be able to control the rate of dart fire as well as the velocity of the darts.
Once you have downloaded the software, we move on to installing.
Part 2: Installing the software
The method will vary depending on whether you have Linux, Windows or a Mac. The method varies only slightly, but follows this process: 1. Install the Arduino IDE. 2. Install any serial drivers. 3. Run the Arduino for the first time, and then exit. 4. Install addon support libraries for your particular Arduino.
Step 2 may be required depending on whether you have an older version of Windows. The Arduino IDE should prompt you for this during install. OSX and Linux won’t require this.
Step 3 is important as the Arduino IDE will create files and directories the first time you run it and some of the addon support libraries depend on those being there.
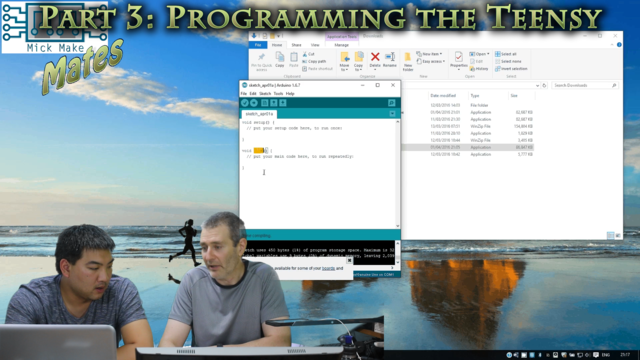
Part 3: Programming the Teensy
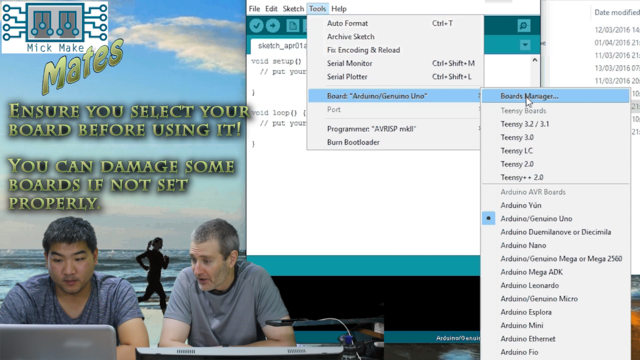
Once you have everything installed, plug in your Arduino. Depending on what Arduino you have will change what your computer does. The Teensy will appear as a Human Interface Device, (HID), but the basic Arduino will appear as a USB serial device.Start the Arduino IDE, and make sure that you have selected the correct board under the “Tools” -> “Board” menu.
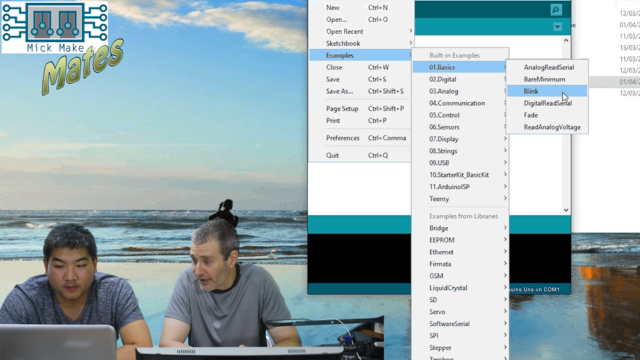
Once you have selected the correct board you can select a test program, (or sketch), to execute on your Arduino. The best one to use is the “blink” sketch. Almost all Arduinos come with an onboard LED that is user programmable. The “blink” sketch will turn the LED on and off every 1 second. You can find this sketch under the examples menu: Examples -> 01.Basics -> Blink.
When you have your blink sketch loaded up you can try to load it onto your Arduino. There are two icons in the upper left of the Arduino IDE. The “tick” will attempt to compile your sketch. The “arrow” will load the sketch on to your Arduino. When you click the arrow it will also compile prior to loading.
Compiling will translate your sketch into “machine code”. This is the natural “language” of all CPUs and MCUs. Depending on the size of your sketch it may take a short time or a long time. The “blink” sketch should take a very short time to compile.
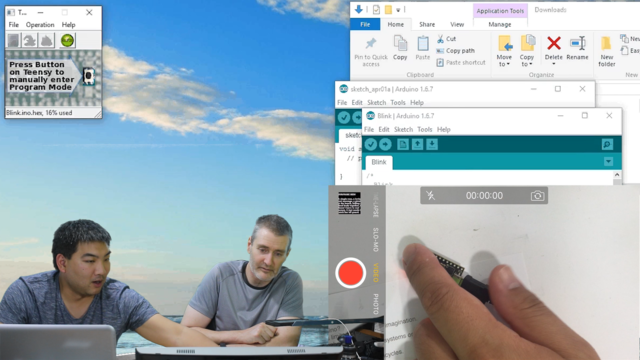
If you are using a Teensy, then there is an extra step that you need to do to actually load the sketch. A small window will appear telling you to: “Press button on Teensy to manually enter Program Mode.” This will load the sketch on to your Teensy.
If you have a standard Arduino, then this step isn’t required. Check the website for your board.
Part 4: Programming basics
Programming the Arduino uses the “C” language. This whole topic really deserves several videos and I intend to do so. However, to cut to the basics there are several key elements to observe in the blink sketch.
Comments:
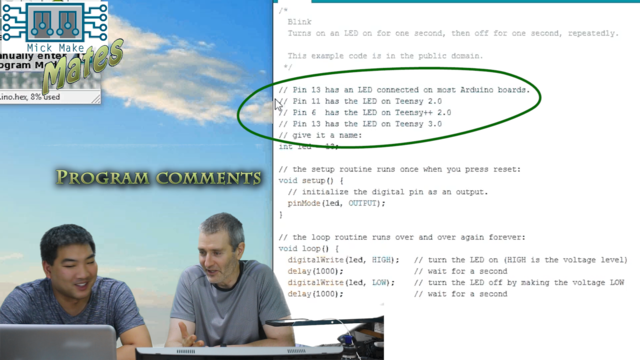
You can have comments in your sketch. This is plain old human readable text that the Arduino IDE will ignore. Any text past the // on a single line or contained within a /* */ pair will be considered text for you to use. You can put anything in there, it’ll be ignored by the compiler.
Variables:
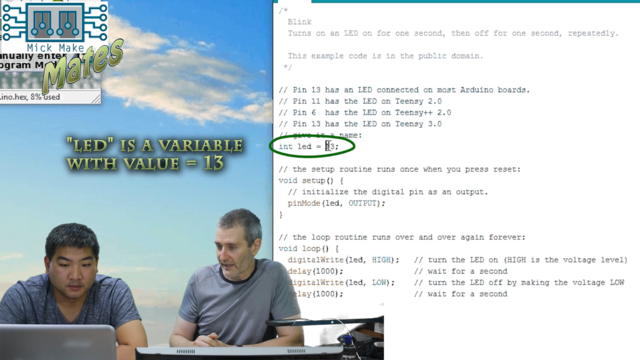
Variables store data for you to use in your sketch. There are several variable types. The following list out some of the basic types:
- INT - This is an integer variable. Arduino stores this as a two byte value, (or 16 bits), which means that you can assign any value from 0 to 65,535. This is also considered an “unsigned int”.
- UNSIGNED INT - See above.
- SIGNED INT - This allows you to store both positive and negative numbers. For Arduino this will yield values between -32,768 and 32,767.
- BOOLEAN - Boolean variables can only be one of two states. Either TRUE or FALSE. They are used primarily in logic.
- FLOAT - The float data type allows you to store non-integer variables. This is critical if you want to store, for example, temperature which could be 25.12 C. Floats are stored into 4 bytes and you can have any number from -3.4028235E+38 to 3.4028235E+38. Floats also have 6 decimal places of precision.
- STRING - Allows you to store any string text. For example: “This is a test message.”
- ARRAY - Allows you to store a sequence of variables in a similar way to a spreadsheet. You can reference any row within your sketch.
Macros:
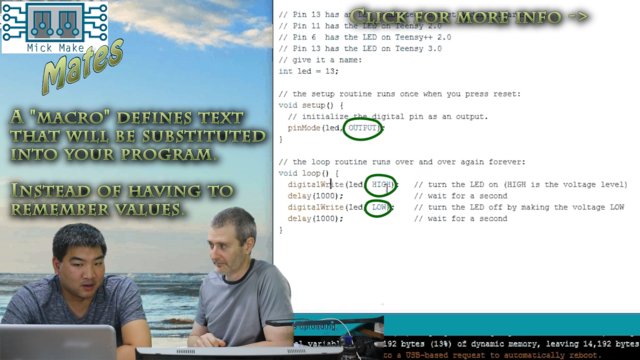
A macro is essentially a “search and replace” method of entering in text into your sketch that will be replaced at compile time. This is great when you are entering in the same values over and over. For example the Arduino IDE has many such macros; LOW, HIGH, OUTPUT, etc. You don’t need to remember what the values are represented as.
Functions:
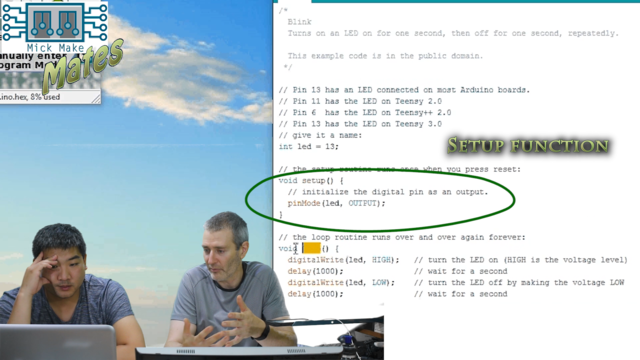
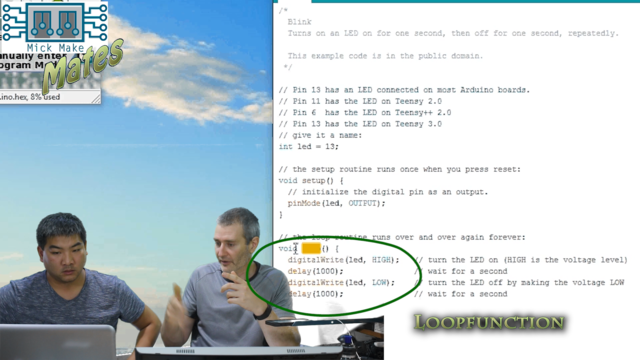
Functions are self contained “black boxes” that allow you to execute a sequence of instructions within your sketch. There are two critical functions that you need to be aware of: 1. setup() - The setup function is designed for initializing parts of your Arduino. This is executed only once. 2. loop() - Is a special function that will be executed endlessly. That is the Arduino will execute this function over and over for ever.
Outside of these two functions you can create as many functions as you like. Remember they are treated as a “black box” where you will execute a sequence of instructions. So ideally you could create a function called TurnOnLight(Number) which would accept a variable “Number” and within that function would turn on any one of your household lights.
The Arduino IDE has many inbuilt functions. In the “blink” sketch you will see three such functions: 1. pinMode - This allows you to set the mode of a specific pin on your Arduino. As you might remember from the first video the Arduino’s pins can be set to an input, output, PWM, or a number of other modes. In the case of “blink” it is setting pin 13 to output. 2. digitalWrite - Will set an output pin to either boolean HIGH or LOW. 3. delay - This will pause the execution of the Arduino sketch for the defined number of milli seconds. The default “blink” sketch has this set to 1 second.
Once again this is a topic that wold be better covered in a series of videos which I intend to do.
Scope:
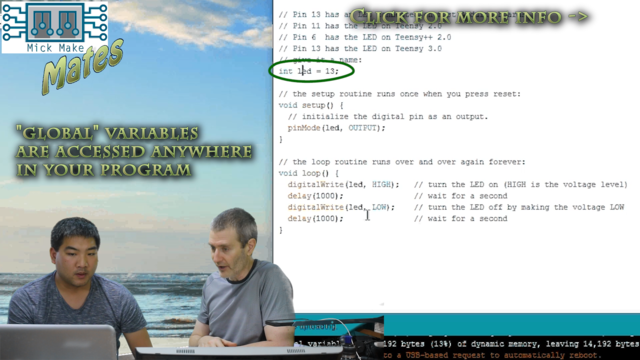
This refers to where a variable is defined. For example in the “blink” sketch you will see a variable defined as “led”. This has been defined outside of a function, which means is it “global” or can be accessed from anywhere within your sketch.
If you define a variable within a function then it will only be accessible WITHIN that function. Generally you want to steer clear of global variables, but sometimes they are needed.
Part 5: Modifying the code
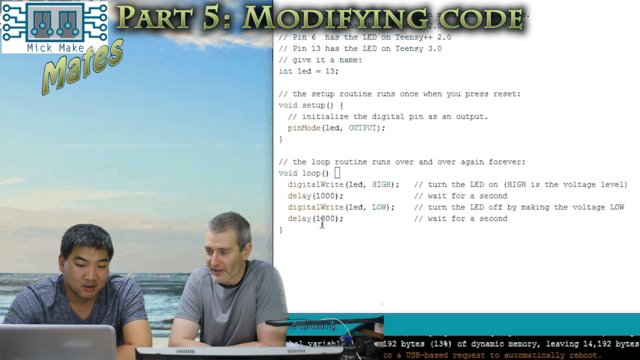
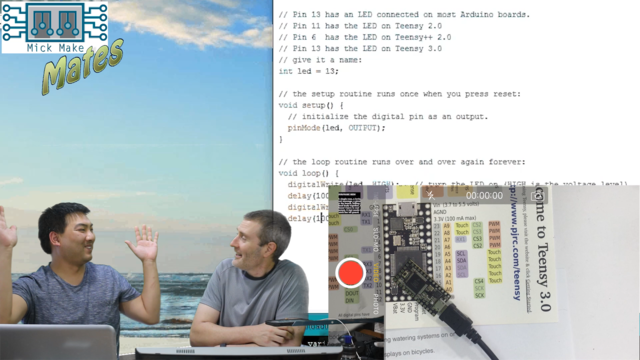
The last part of the video saw Tim modify the default “blink” sketch by reducing the time the LED was on and off. This is a fairly easy process. The Arduino IDE behaves in the same way as any basic text editor.Once you have modified it. Test it out! I’d suggest that you try to compile before uploading as sometimes errors will be in your code.
If you have reached this stage see if you can blink the LED to simulate a heart beat.
The next episode:
In the next episode Tim will be setting up input devices to provide basic control over an LED.

