How to make a Bluetooth doorbell and phone app // Project
So you want to know how to make a Bluetooth enabled Doorbell that you can build in a day?
What about controlling it from your smart phone? This tutorial will show you how easy it is!
Basic Requirements
Since this was the “first model” of the Uber Doorbell I restricted it to five basic functions: 1. Play a custom tune of my choice. 2. Log doorbell presses. 3. Log door movements, (EG someone closing the door). 4. Mute the doorbell. 5. Manage it from my iPhone.
Parts List
All of these requirements are trivial when using the Simblee. I used the Lilypad version of the Simblee as it was cheap, had inbuilt LiPo charging, and I had a few leftover from another project. The rest of the parts list below:
- Lilypad Simblee - $24.95 from Sparkfun, or from amazon.com.
- Fast vibration sensor - poor man’s movement sensor - $0.95 from Adafruit, or from amazon.com.
- Real Time Clock - DS3231 based - $5.45 from seeed.
- Audio amplifier - PAM8403 based - $5.90 from DFRobot.
- LiPo battery, I settled on 1Ah, but.. - $9.95 850mAh from Sparkfun, $12.95 2Ah from SparkFun, $14.95 2.5Ah from Adafruit, $9.95 1.2Ah from Adafruit.
- 8 Ohm speaker - $1.95 from SparkFun.
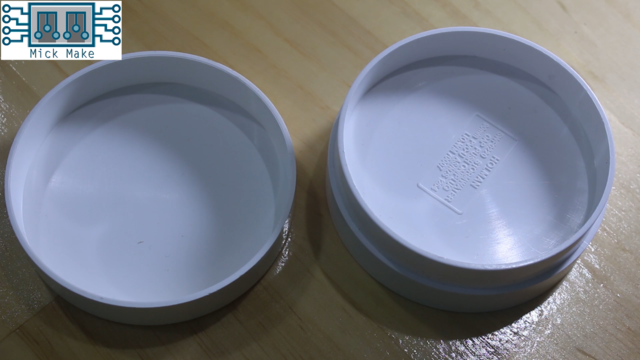
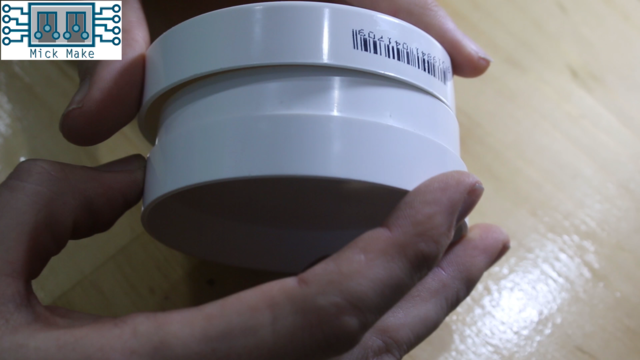
- Box - I used a storm water drain cap. In Australia they look like this here and here.
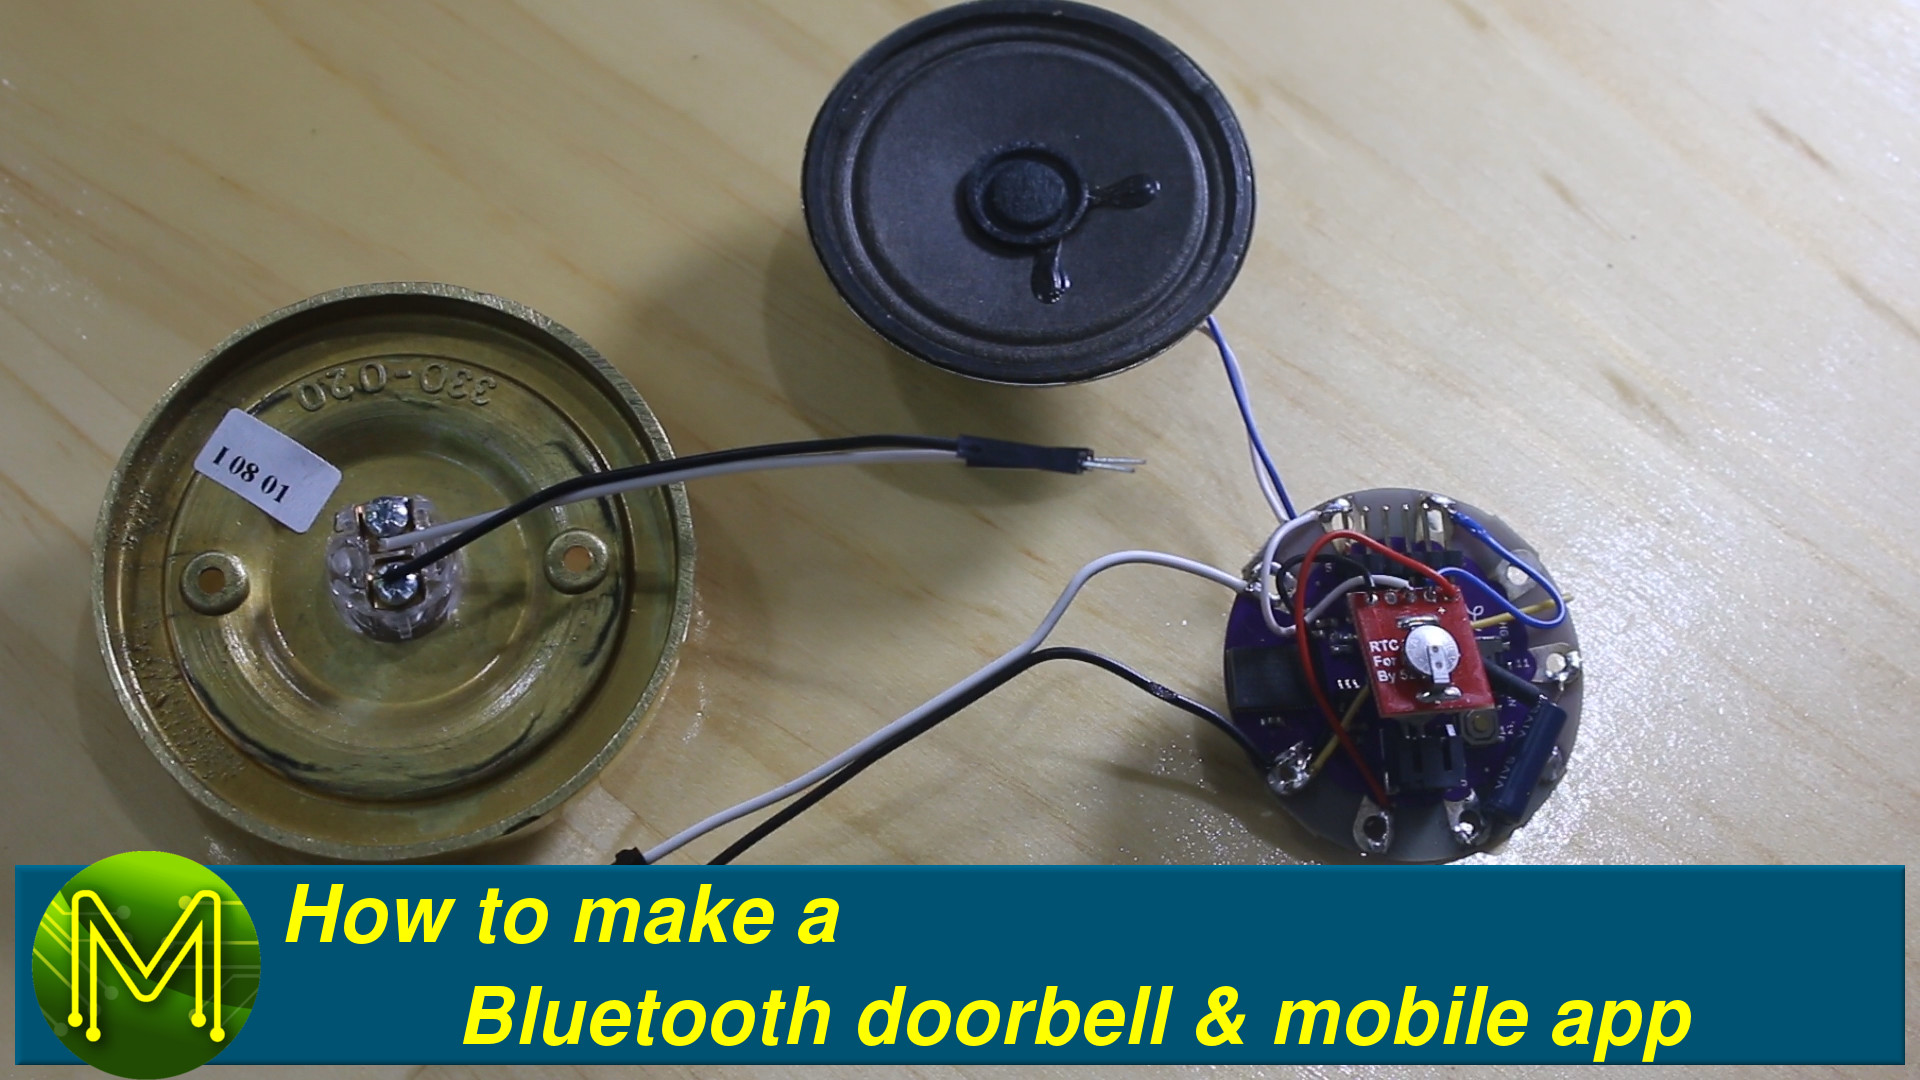
- And we can’t forget the button. I used a fancy button that I found in my shed. I’m always on the lookout for cheap project boxes for electronics. One thing I discovered was the plumbing section at my local hardware store have 90mm storm water caps and lids. The make fantastic sturdy boxes and only for AU$4.00! So I grabbed a stack of them for other projects.
Now that I had all the bits I was ready to get stuck into it.
Soldering
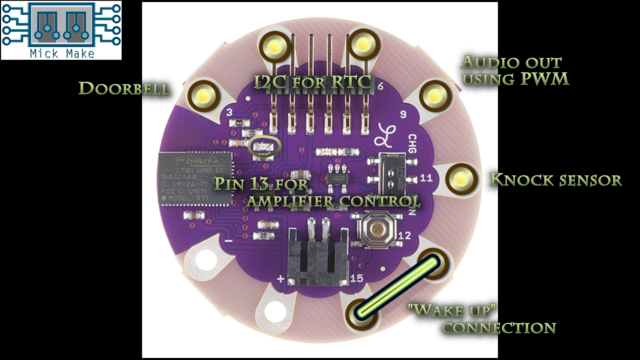
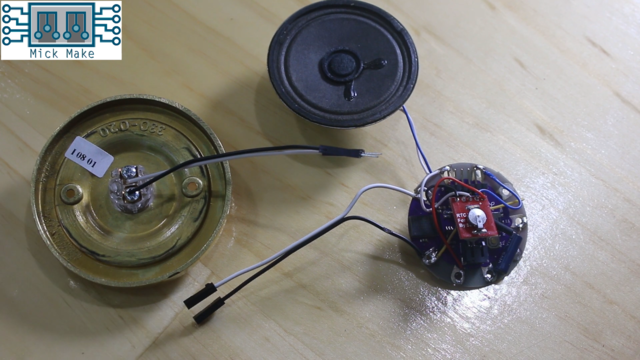
We’re going to use all the Lilypad GPIO pins plus steal the onboard LED GPIO and use it to enable/disable the audio amplifier. I’d suggest watching the video on how I soldered everything up, but the following GPIO pins were used.
- Doorbell pin - is a standard Normally Open door press button with the other end connecting to ground.
- I2C bus - used to access the Real Time Clock.
- Audio out - uses Pulse Width Modulation to achieve analog tones.
- Knock sensor - is a “poor man’s” movement sensor which consists of a spring that connects when moved. Fairly basic!
- “Wake Up” connection. More on this next. The knock sensor and doorbell button will wake the Simblee up from Ultra Low Power mode. So the Simblee will sit there drawing just 4uA. Great for battery life.
The “Wake Up” connection is required because there was no way of waking up the Simblee from ULP mode when connecting to it from your smartphone. There is a callback function within the Simble API that will execute code on connects and disconnects. However, the Arduino loop() function will never execute when in ULP mode until woken by interrupt.
So, I made use of two GPIO pins, one set to output, the other set to input. The input pin was set to wake up the Simblee by interrupt from ULP mode. So all I had to do was set the wake up GPIO output to HIGH from within the BLE connect callback function. A bit of a waste of GPIO pins, but I didn’t want the battery to run flat in a day!
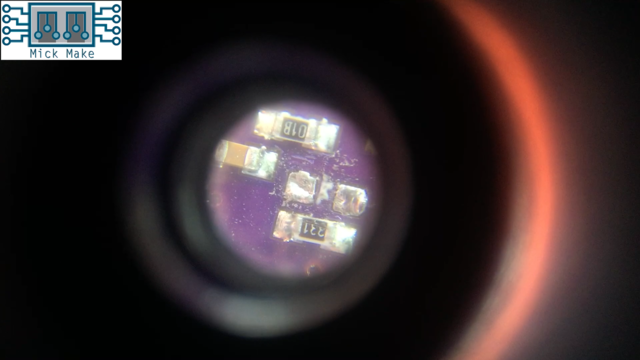
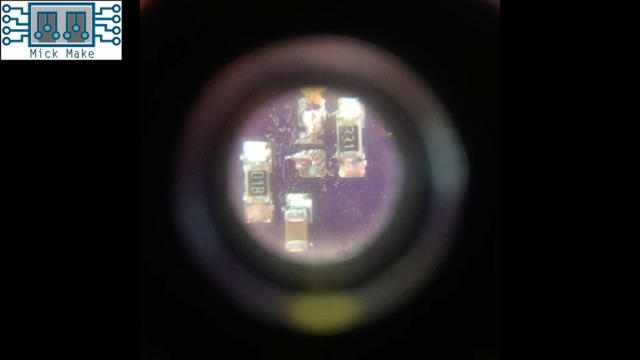
The soldering last element was tricky. Since there were no other GPIO pins available on the Lilypad, I had to make use of the onboard LED GPIO. The meant I had to desolder the surface mount LED. Normally this is a tricky operation, but all you have to do is just heat up the LED and push it off the surface mount pads. Make sure you check it up close for solder bridges.
Then solder up a wire off one of the surface mount pads to the audio amplifier.
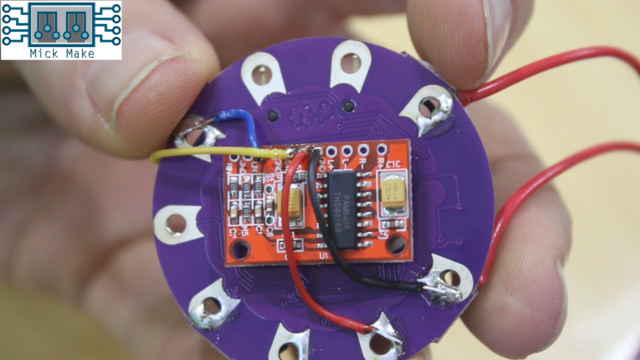
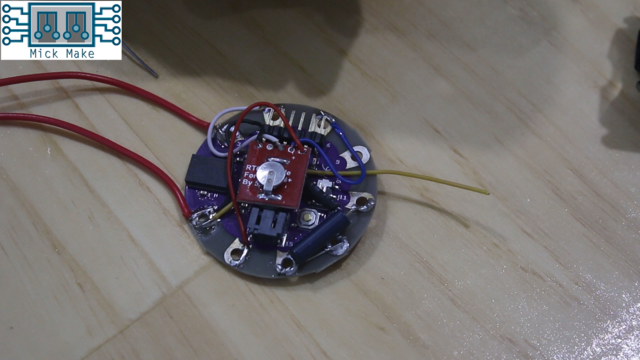
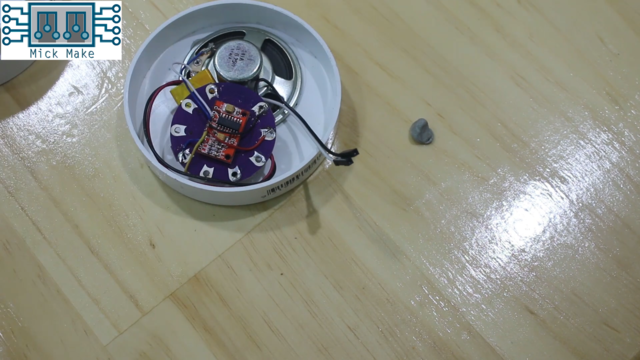
Here’s the front and back of my Uber Doorbell all soldered up. In Australia we’d call this a bit of a Dog’s Breakfast. However, it’s all soldered up well and secure.
And the final elements.
That fitted snugly into the storm water caps.
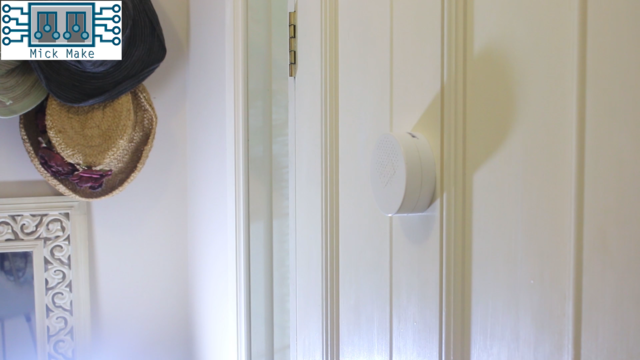
Once fitted up to the back of the door it didn’t look too bad.
The smartphone app
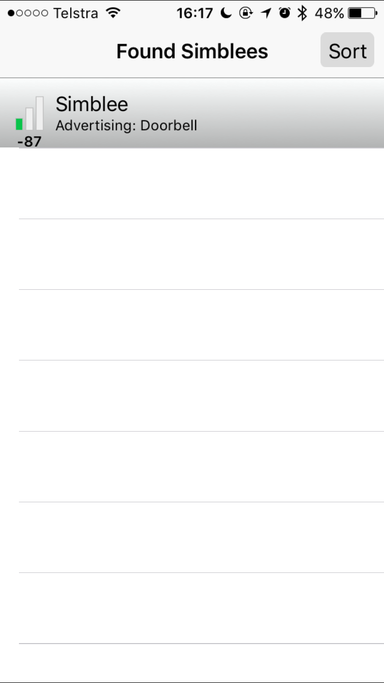
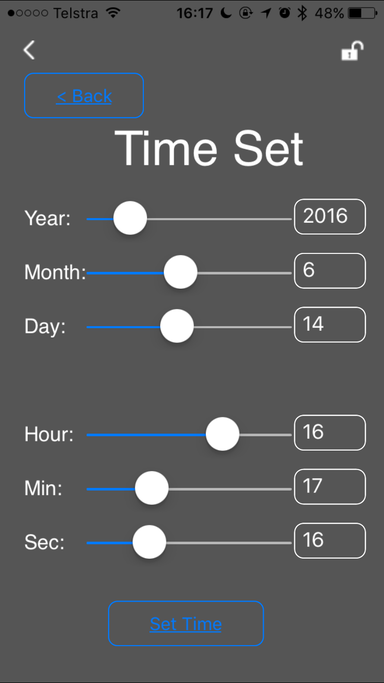
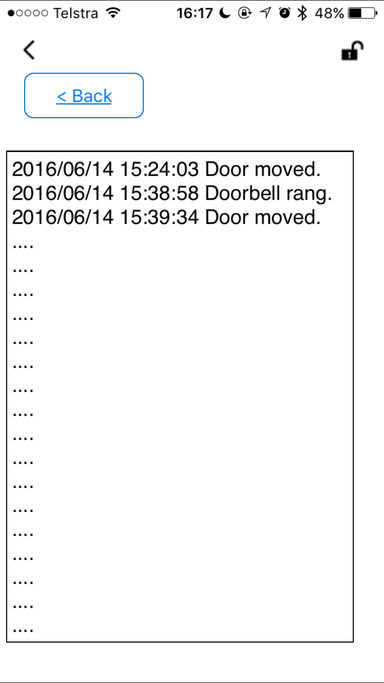
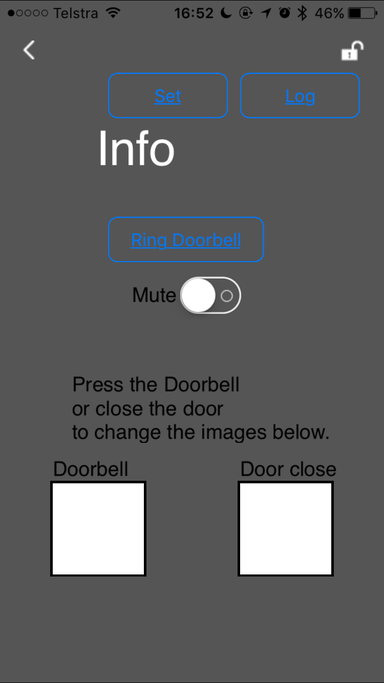
The Simblee allows you to create a smartphone app without ever touching Apple’s Xcode or Google’s Android SDK. You can do it all from the Arduino IDE. The app I wrote was basic, but functional. There was no real security as of this writing, but I plan to add it soon. You can pick up the source code from my Github Uber Doorbell page. Feel free to modify or update. It’d be great to hear if you made it yourself! Screenshots:

